
Members Area Tutorial: Follow an Expert Photo Manipulator’s Workflow
Today our expert members tutorial offers something a little different. We have a real life design casestudy from world renowned designer Wojciech Magierski.
Wojciech has agreed to talk you guys through his typical workflow in the creation of his popular piece ‘Voices’.
There are plenty of actionable quick tips throughout this tutorial, and beyond that it’s really inspiring to see how the pro’s go about their image creation.
Final Outcome
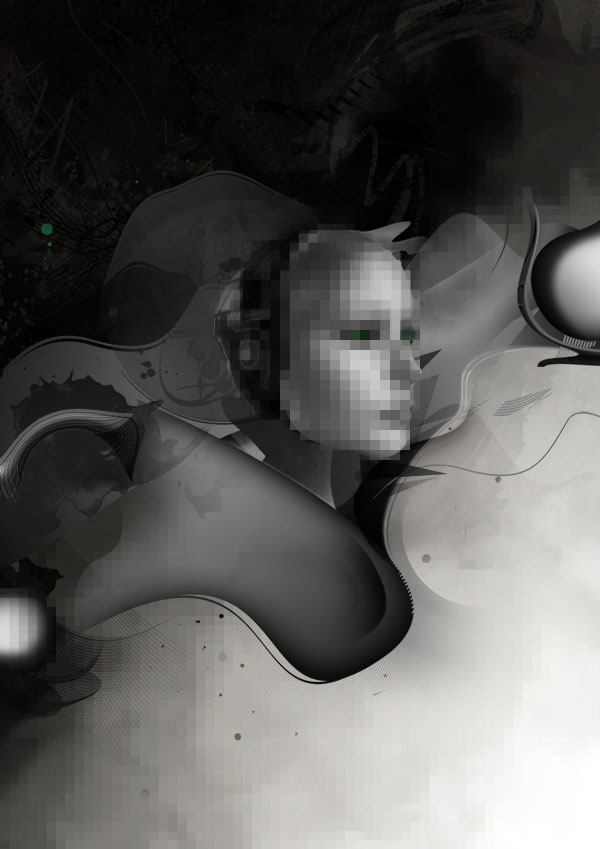
As always, this is the final image that we’ll be creating:

Resources Used In This Tutorial
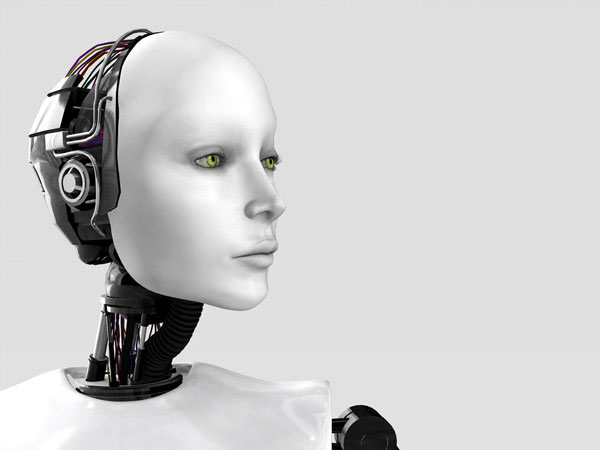
- Robot Head – shutterstock
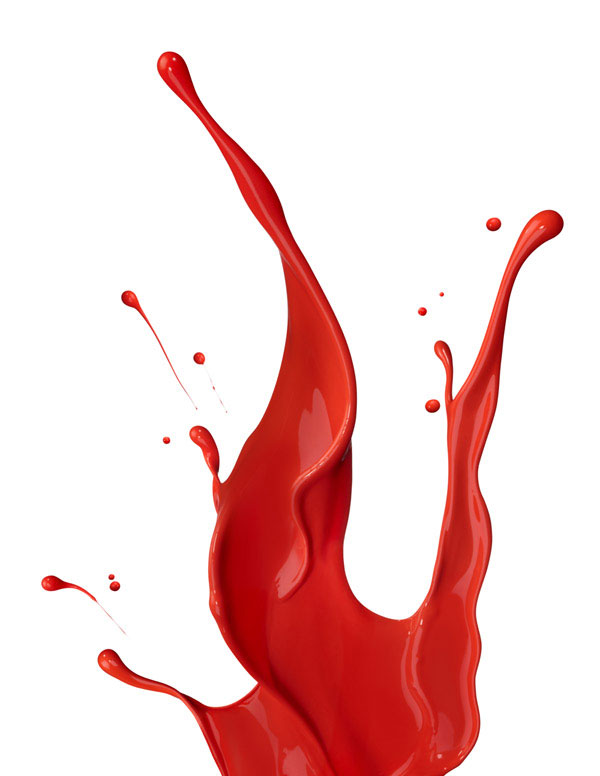
- Paint Splash – shutterstock
- Mechanical image – sxc.hu
- Diagonal lines brush + watercolor mark brush
Step 1
I set the canvas to a4 (300 dpi).
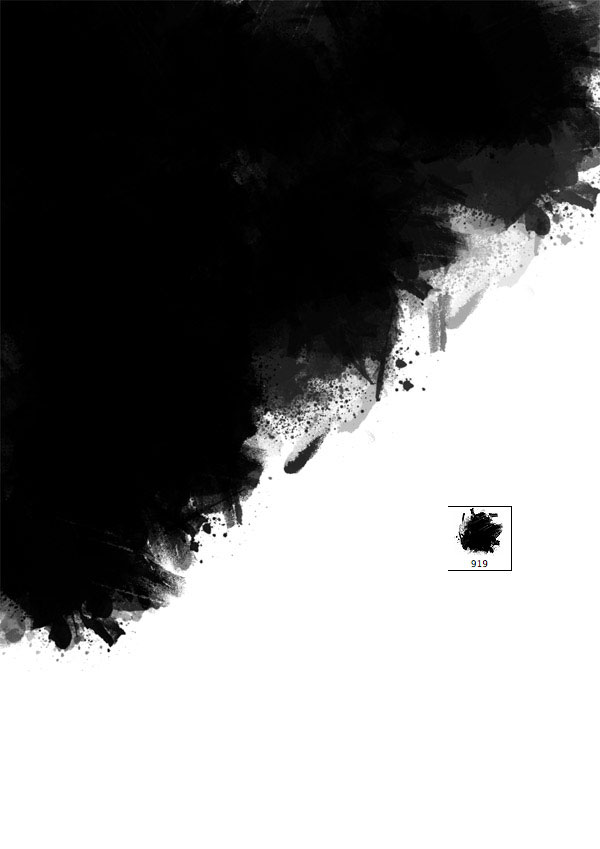
The first thing I create is a background. I decided to create a black and white shapes, as it gives our image more contrast.
I take a watercolor brush and start to paint a black area.
Step 2
I duplicate the layer.
On the copied layer I use a pixel effect called Mosaic – you can find it on Filter > Pixelate > Mosaic.

Step 3
Here I repeat Step 1.
I create a new layer after creating my mosaic and apply black watercolor markings.

Step 4
Now, I duplicate the new watercolor layer and move it up to make the background design more complex.

Step 5
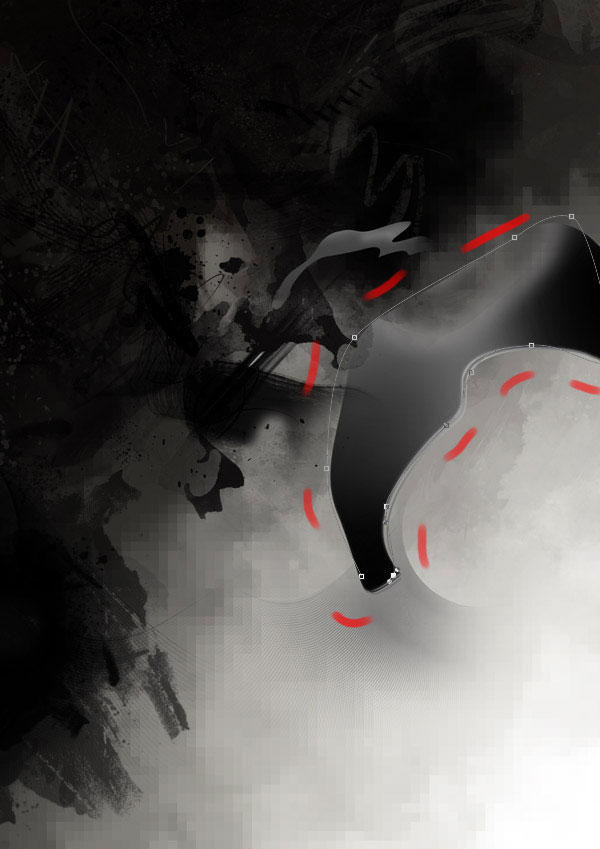
I start to add more visual elements using the path tool and I experiment with creating some shapes.
You can make a selection and then use a soft paintbrush to vary the tones (mine vary from light gray to black).

Step 6
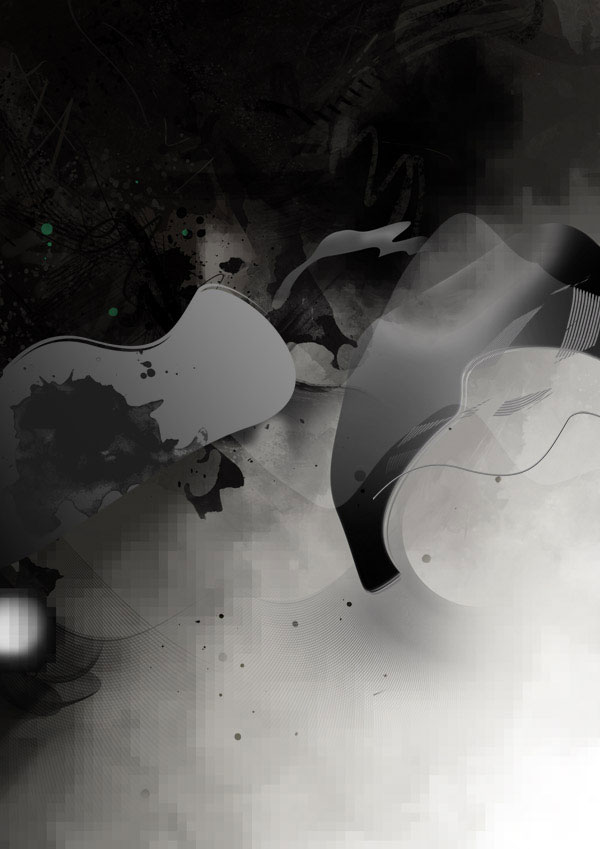
Start to build up a more abstract background effect.
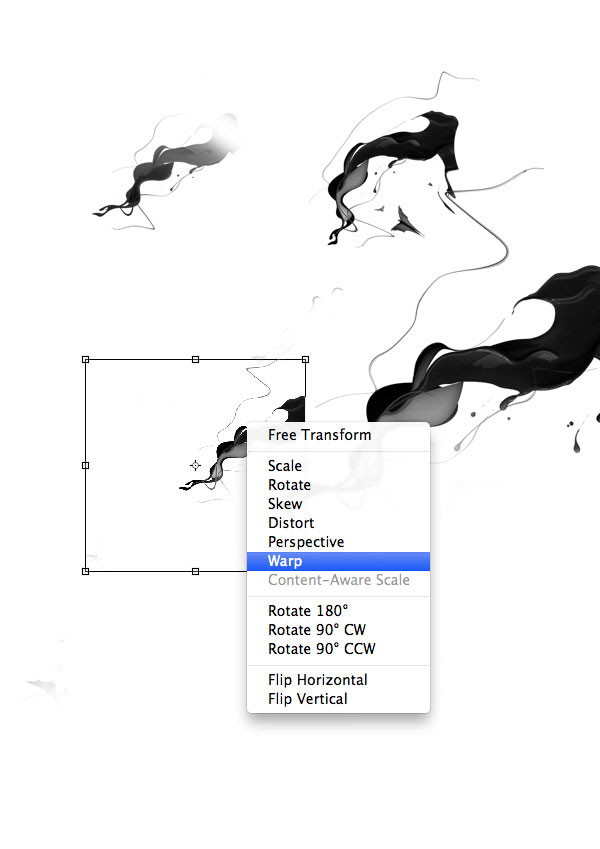
Duplicate your abstract shape layer and reduce the opacity, also warping it into a new shape.
Experiment creating various shapes in this way and start to build a composition.
Step 7
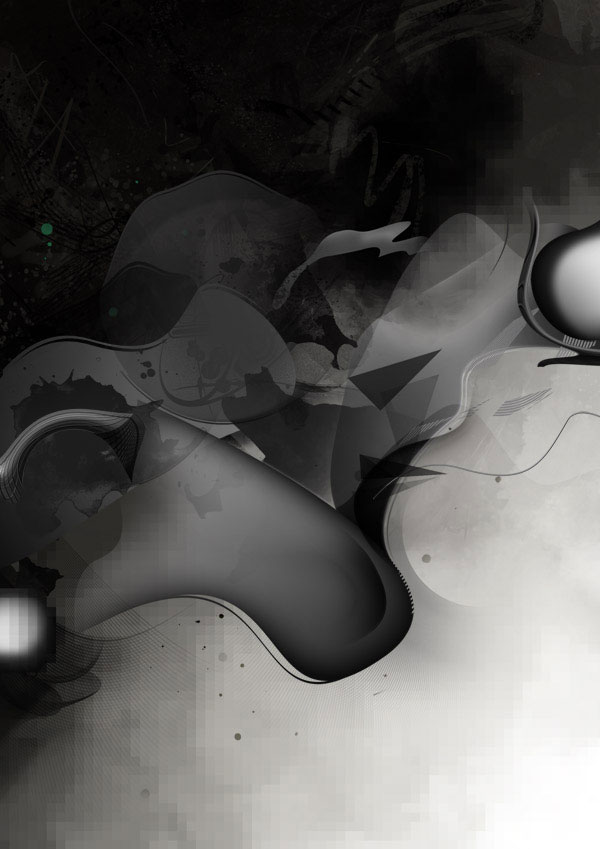
Same as before, add more details, using the path tool or basic shape tools.
Step 8
Now add the head of a robot, found on shutterstock.com. Start to think about composition of your main piece.
Extract the head from it’s background using the path tool and use curves to make it a little darker.


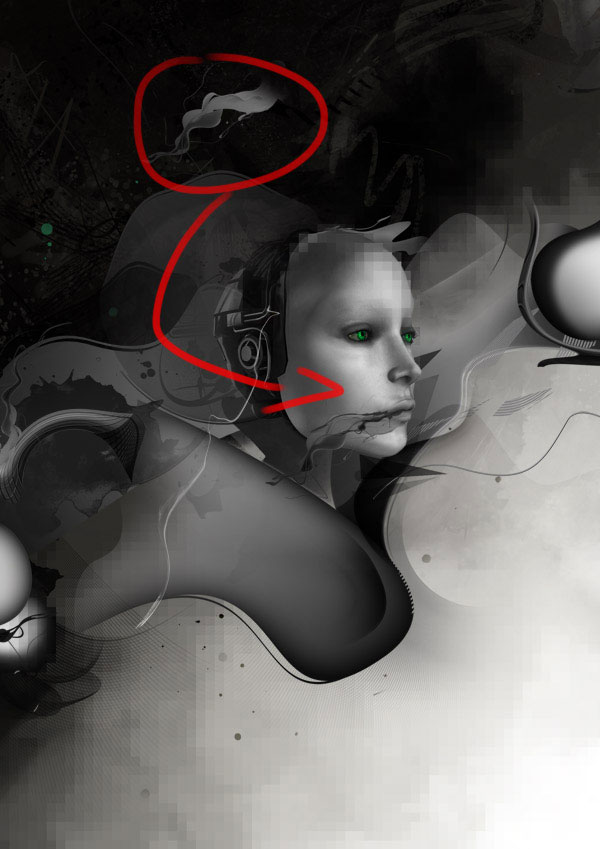
Step 9
I duplicated the head of robot by clicking ctrl+j (command+j). Then I repeated the mosaic filter used on the background again to create a pixel effect on the top of the robot.
I then erased areas of the head and left the mosaic just on the forehead.

Step 10
I found some paint splash stocks on shutterstock.com. I use them to create a nice visual effect.
Extract the splashes from their backgrounds using whatever method you prefer. The color range and magic wand techniques can work well, but I use the pen tool for extra precision and clean edges. Change the shape of the splash, using the warp tool.
There are a lot of paint splash images available online, some of them are isolated already so you don’t have to extract them from their background.
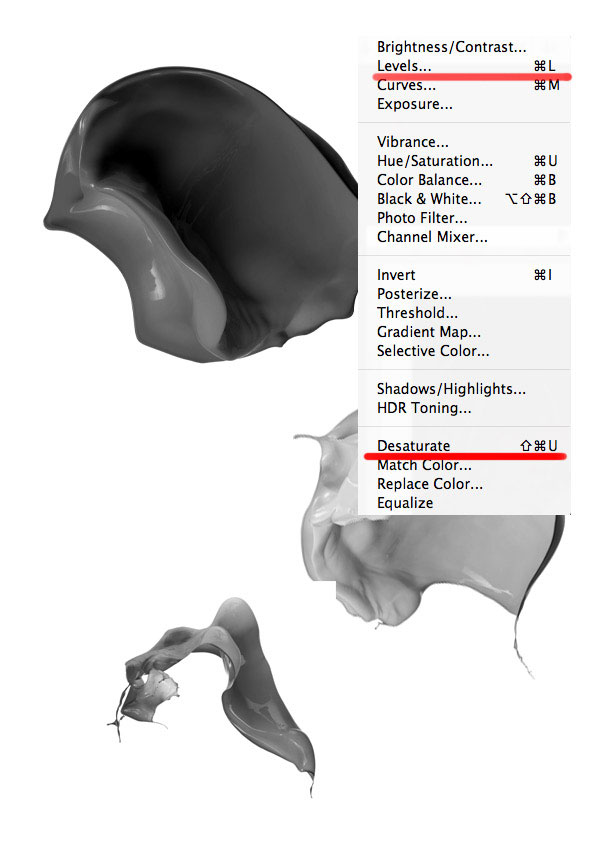
Step 11
Desaturate your paint splashes and start to add them to your main composition, layering them up to create a nice effect.
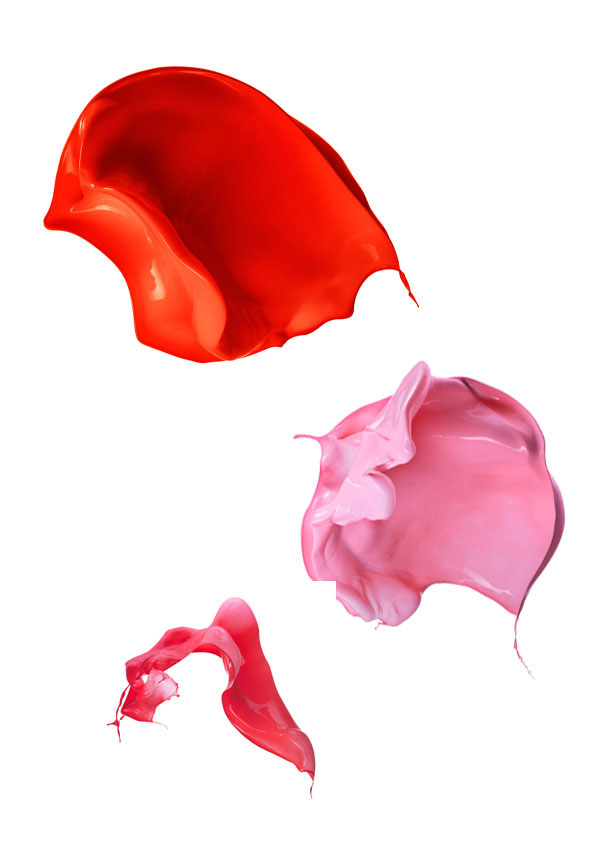
Step 12
Here are further paint splash images found on shutterstock.com.
Before use you need to desaturate ctrl+shift+U the elements and make it more contrasted using auto levels ctrl+shift+L.
Step 13
Just as with the previous splashes, add these new ones to your composition to start to build up the layers.
Step 14
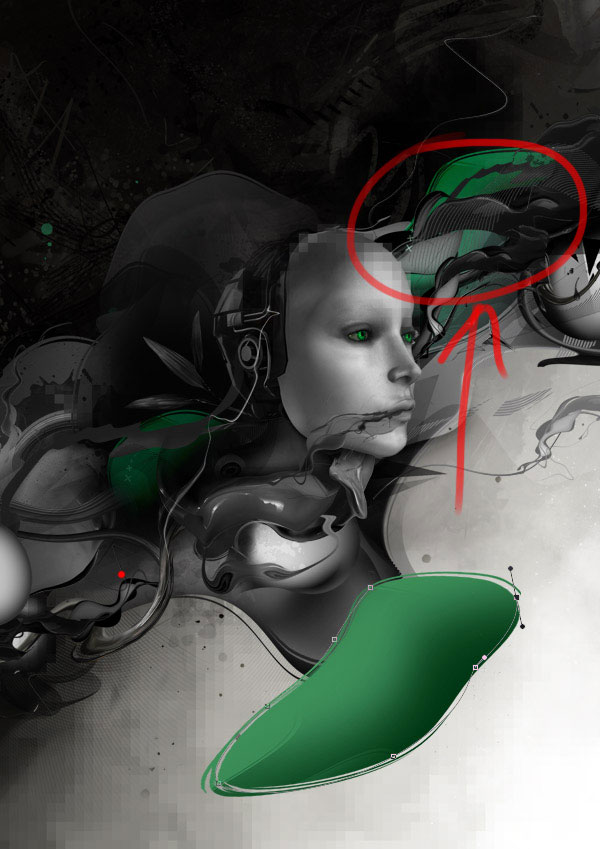
Now it’s time to add more color and shapes to our composition!
I draw some abstract shapes using the path tool, and then fill my resulting select with green using a soft paintbrush.
With your selection active use a slightly darker green brush to add shadow and depth to your shadows, painting darker shades on the edges. With your selection in place ensure that your marquee tool is active. Use your keyboard cursors to move the selected area around by just a few pixels, this will shift the edges of your green shape and allow you to start to create some random edge lines to your abstract green shapes.
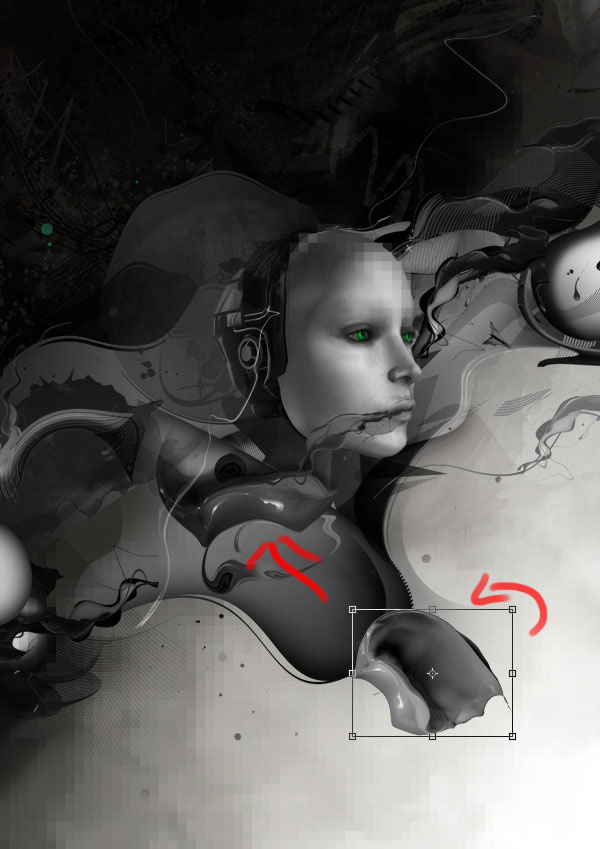
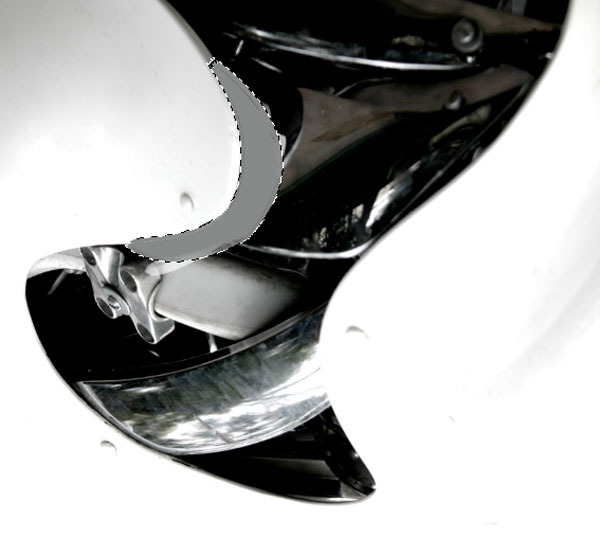
Step 15
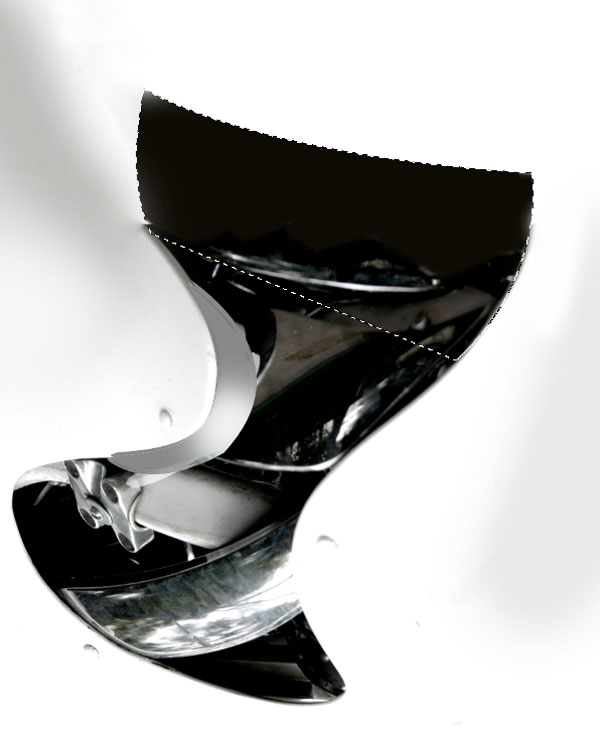
I found a stock photo from sxc.hu of a mechanical thing and use it as element of the robot’s face.
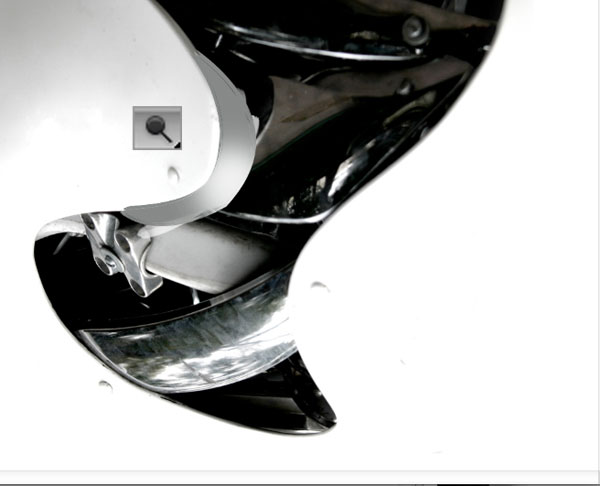
I make a path, then make a selection and fill it with grey color. Then I use the dodge tool add more light on the corner. I use my marquee tool to add a further area to the top of this mechanical area.
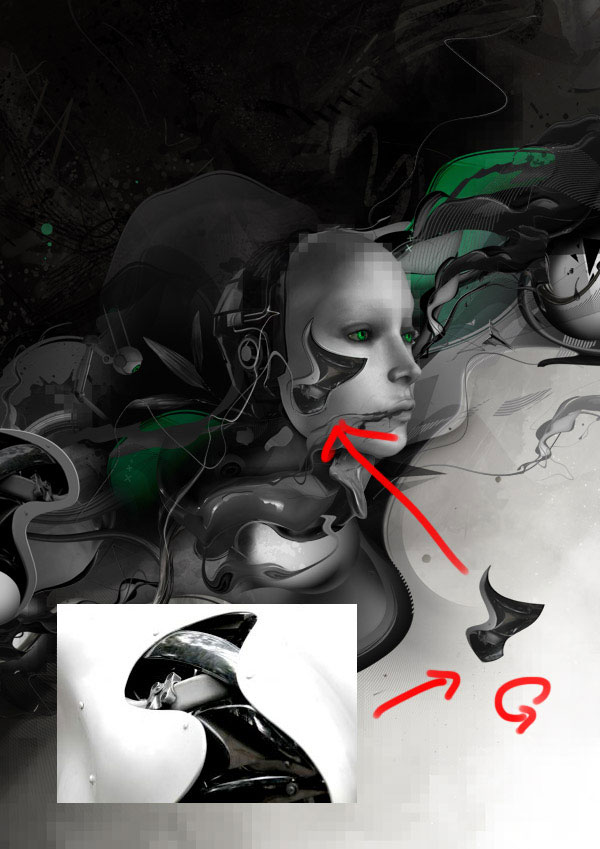
I paste the final mechanical design back into my main canvas, positioning it over the robot’s cheek. Then I blend it accordingly, using various adjustment layers.

Step 16
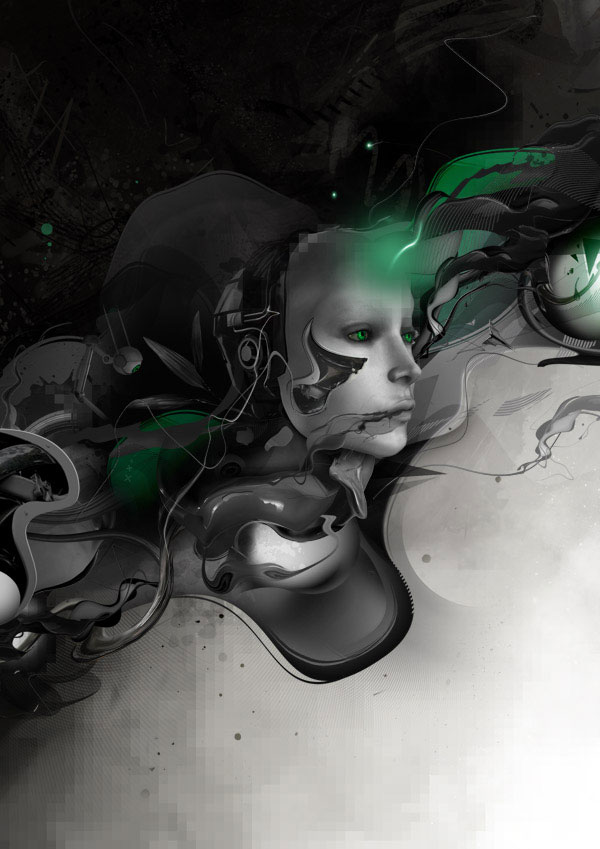
Time to add some quick and easy lights!
I take a soft, green paintbrush and paint a blurred circle over the robots head.
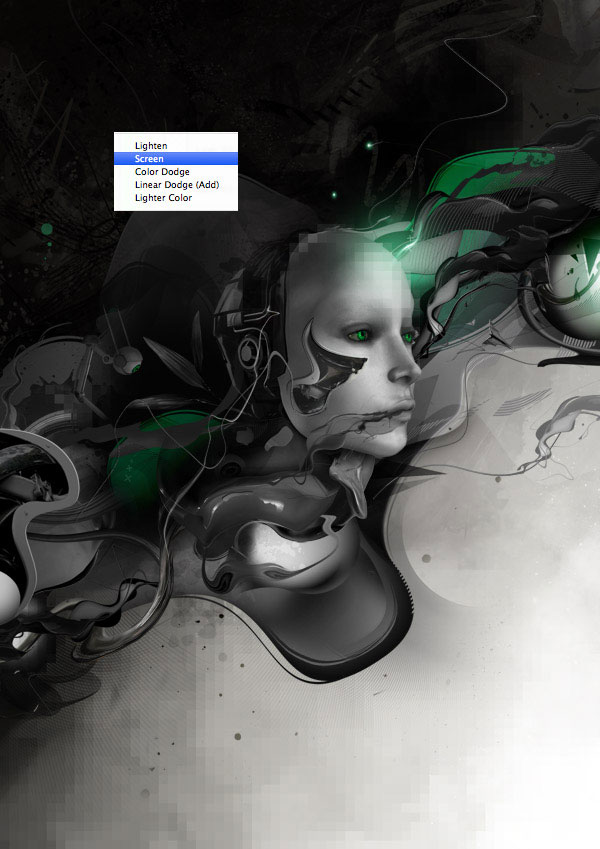
Then I change this layer’s blend mode to ‘screen’ to make the effect more subtle.
Step 17
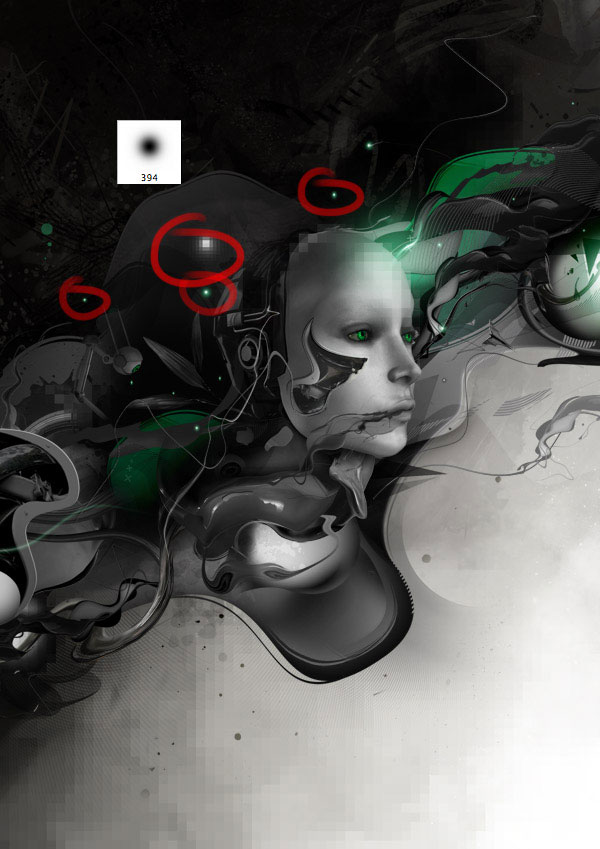
I use the same technique as Step 16, but this time apply smaller white lights around the robots head.
Remember you have to be on ‘screen’ blending mode.
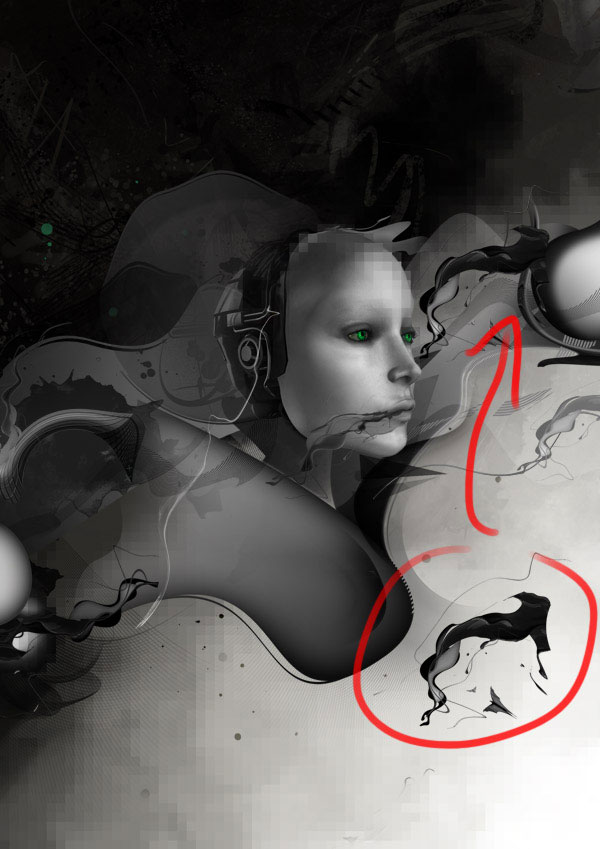
Step 18
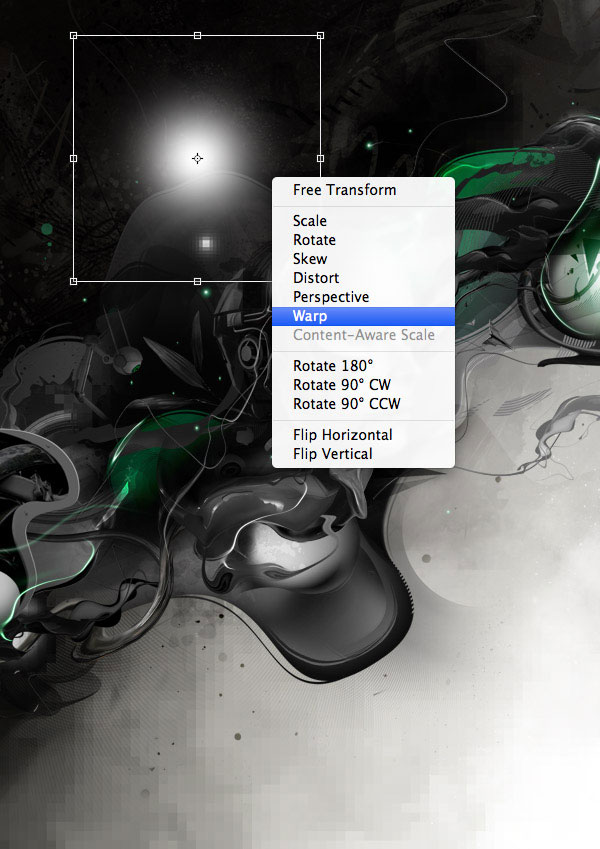
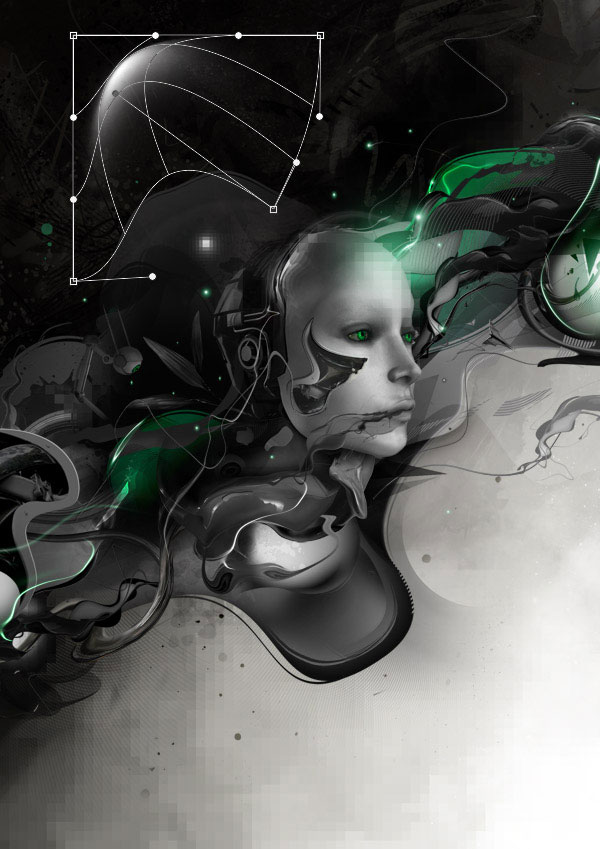
Time to create some unique lighting effects!
The warp tool is a very powerful tool. It’s create for warping photos, but also lets you create some really interesting custom shapes and light effects.
To create a nice line of light, an abstract light effect or even a sparkle, just apply a soft paintbrush mark, and then use the warp tool to greatly alter it’s shape.
Step 19
Now you need to change the color, you can do it using hue/saturation adjustment layer with settings as below (be sure to check the ‘colorize’ option.
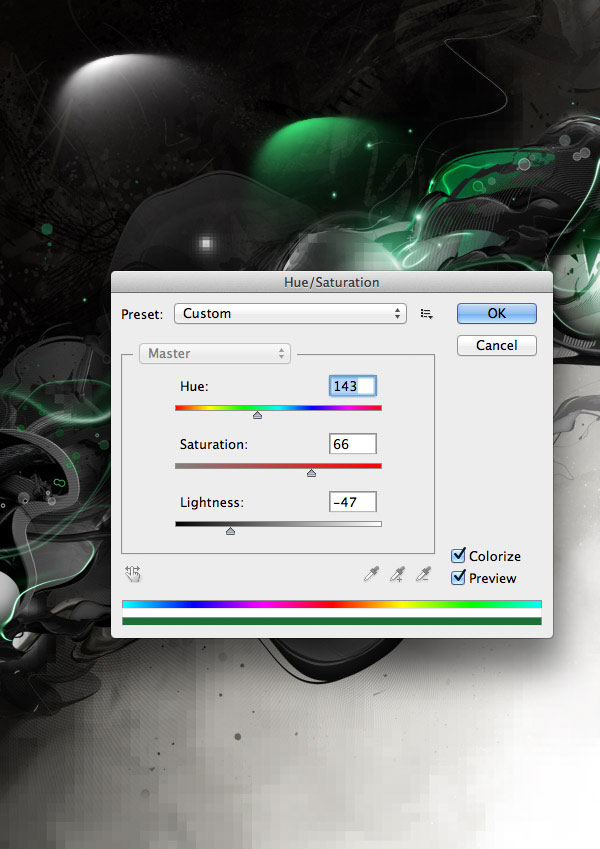
Then put the lights where they fit best. For me these places were good.
If you want to create a wave green light effect you can use a distort wave filter (filter > distort > wave).
Parameters are different for each project because of size and resolution, so try to experiment with the wave filter and come up with an interesting effect to suit your particular composition.
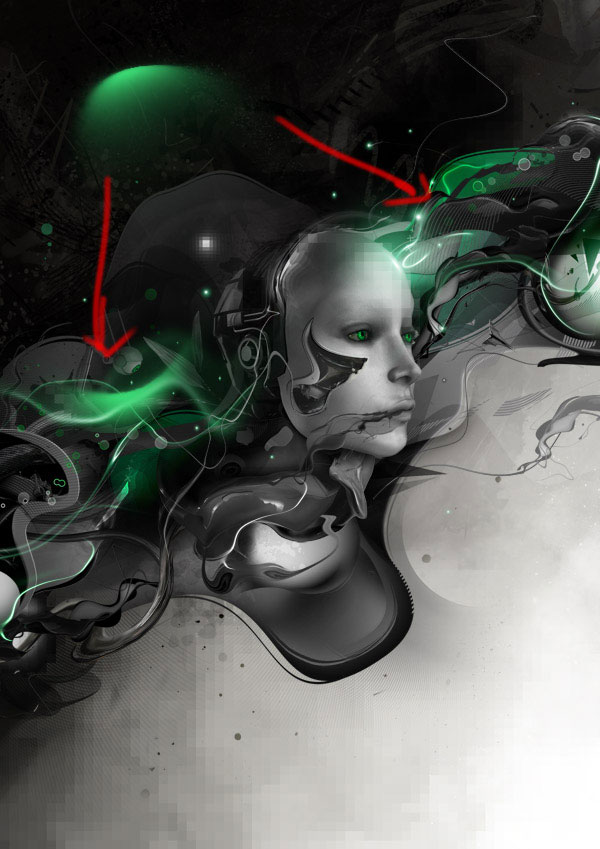
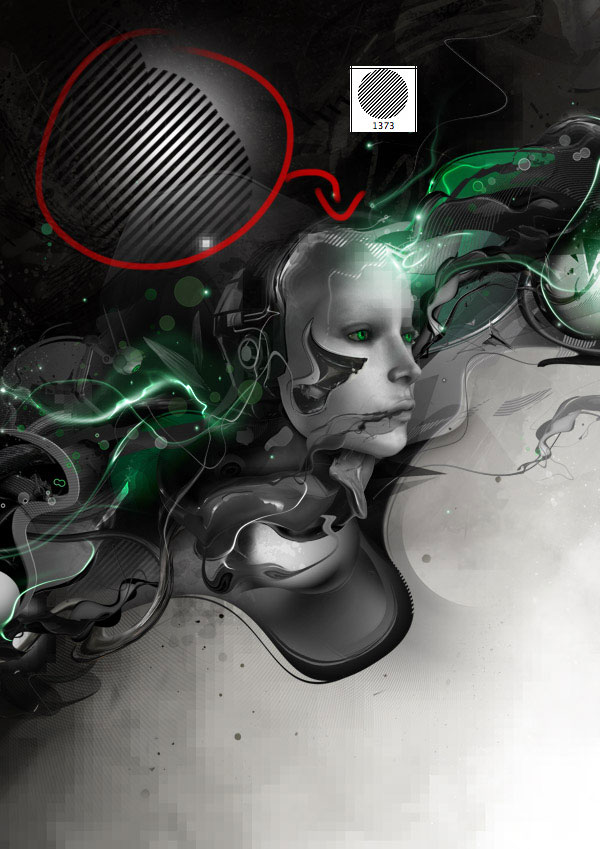
Step 20
I take a brush with lines contained within a circle shape to add more detail to the robot’s face.
First I paint a white soft circle with the paintbrush tool. Then I apply a layer mask to this layer, and apply the lines within a circle brush to mask off parts of the soft white circle.
And We’re Done!
You can view the final outcome below. I hope that you enjoyed this tutorial and would love to hear your feedback on the techniques and outcome.
Member File Download
Download the original .psd file for this tutorial here:

 Members Area Tutorial: Design a Grungy Rock Poster Using a Non-Destructive Workflow
 Members Area Tutorial: Design a Last Airbender Inspired Photo Manipulation
 Members Area Tutorial: Design a Creative Bird Photo Manipulation

Leave a comment
0 Comments:
No comments have been posted yet. Be the first!
Leave a Comment: