
Members Area Tutorial: Design a Colorful and Futuristic Photo Manipulation
In this tutorial I’ll show you how to create a colorful furistic abstract photo manipulation with lighting effect using brush, layer mask, gradient, layer styles and filters.
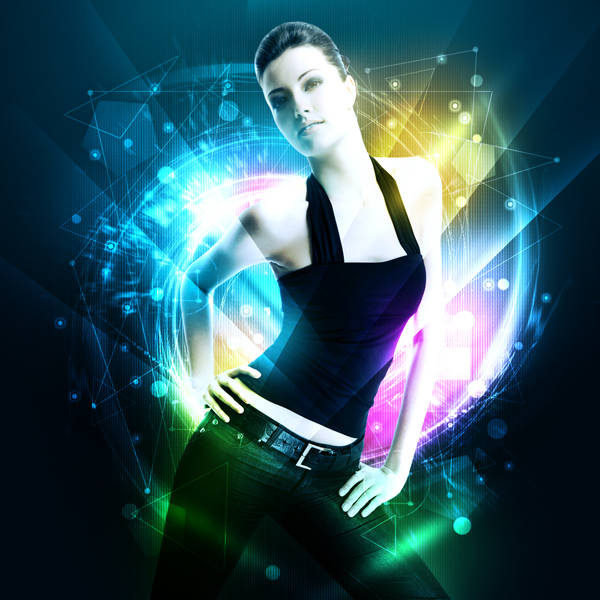
Final Image
As always, this is the final image that we’ll be creating:
Resources Used In This Tutorial
Step 1
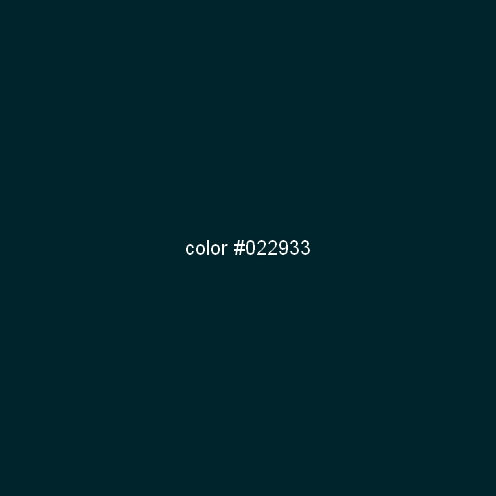
Create a new layer and fill it with white (or any colors, it’s not important). I choose the size for my work as 1000×1000 px. Make a new layer and fill with color #022933.
Step 2
Create a new layer and use soft white brush with size about 300-400 px paint on the pic center as shown below. Set the mode to Soft light 100%:


Step 3
Extract the model and place her in the center of picture:

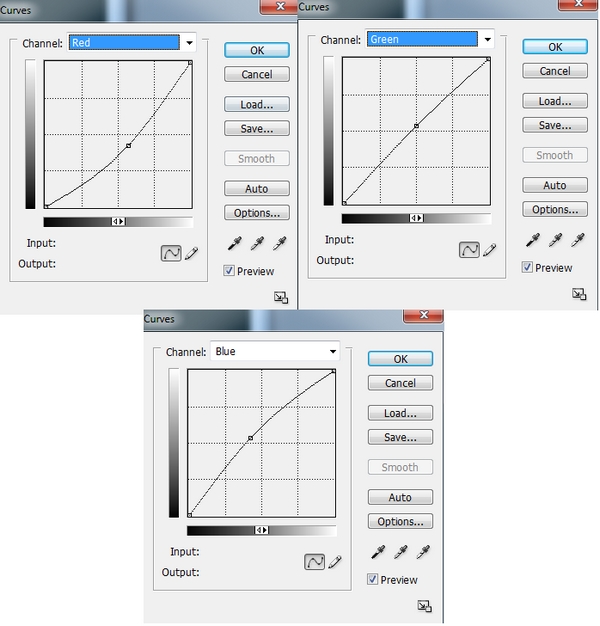
To make color of model fit the background and increase the contrast i use two new adjustment layers with Clipping Mask for model:
Curves:

Gradient Map:

Set this Gradient Map layer to Soft light 100%:

Step 4
I want to add some inner light for model so right click model layer, choose Blending options:


Step 5
Make a new layer and place under model one. Use soft brush with different color painting around model body:

Step 6
Make a new layer ( under model layer), use soft brush with two colors (#fbfd78, #8f84df ) painting on the part near the shoulder and left arm:

Choose Filter-Pixelate-Mosaic:

Change the mode to Hard light 20%. Duplicate this layer, mode it to the right arm and set the mode as Color Dodge 60%:
Step 7
Create a new layer and grab a selection around model, set feather = 50. Fill it with any color you want ( i use 8f84df):

Down the fill of layer to 0%:

Right click this layer, choose Blending options and adjust Pattern Overlay. Choose Pattern we’ve downloaded:


Step 8
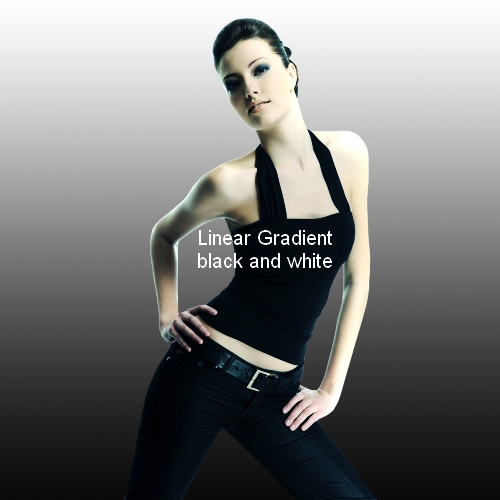
We will continue with a new layer under model layer. Choose Linear Gradient Tool with default color ( black and white):
Click Filter-Distort-Wave:

Hit Cmd/Ctrl+T to transform this layer:

Set this layer to Overlay 100% and add layer mask to hide rough edges of this part:

Duplicate this layer and apply Flip Horizontal ( Edit-Transform-Flip Horizontal) then transform it a bit as shown below:

Step 9
Make a new layer and set foreground color to white. Use debris brushes, number 2352 and 550-600 px ( depending on the size of your picture) painting on upper part and lower part of model arms:
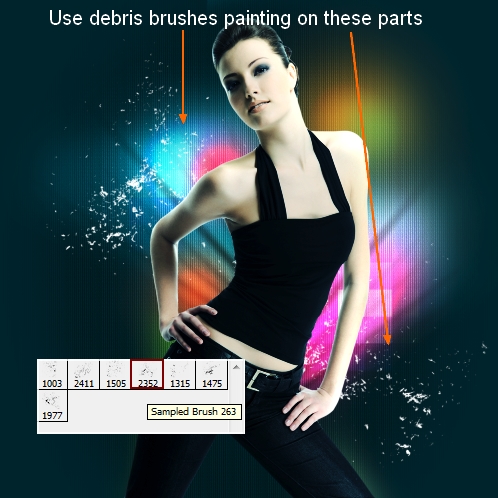
I tried all another debris and i think this brush works best for the effect I’m aiming for.
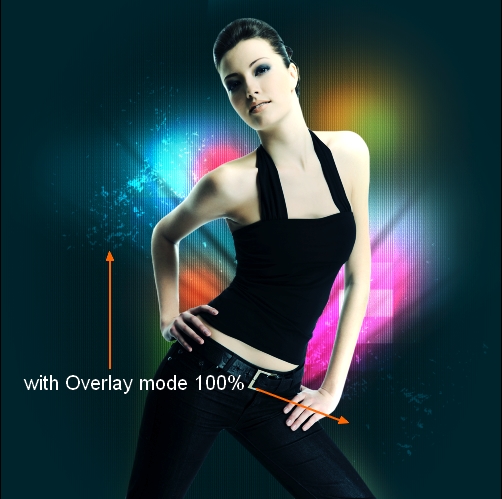
Change the mode to Overlay 100%:
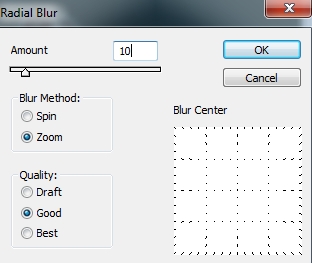
Go to Filter-Blur-Radial Blur:
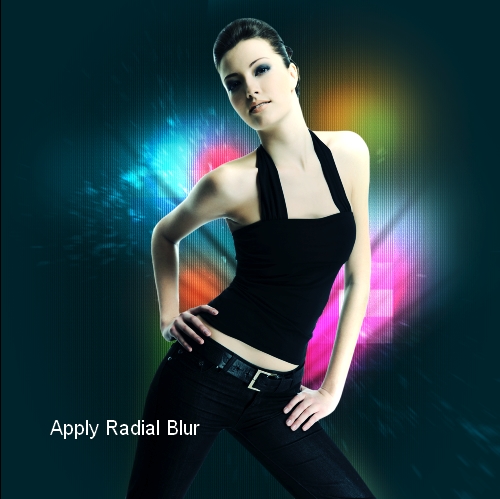
Add layer mask and clear extended parts:

Duplicate this layer and we have result:

Step 10
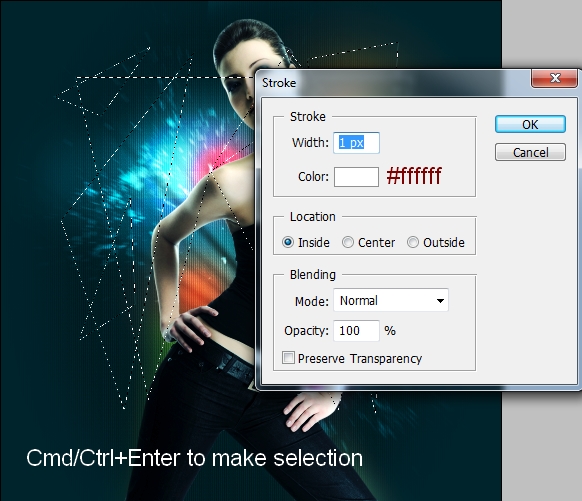
Create a new layer, use Line Tool to draw some paths then hit Cmd/Ctrl+Enter to make selection for these paths and stroke them with white ( Choose Edit-Stroke):

After deselecting, set the mode to Soft light 100%:

Step 11
Make a new layer, use hard white brush, about 9 px to spot on intersections of these paths, then put the mode as Soft light 100%:

Step 12
Make a new layer, use white color for lightning brushes and paint randomly on the pic:

Go to Filter-Distort-Twirl:


Set the mode to Overlay 100% and use soft black brush on layer mask to blur selected parts:

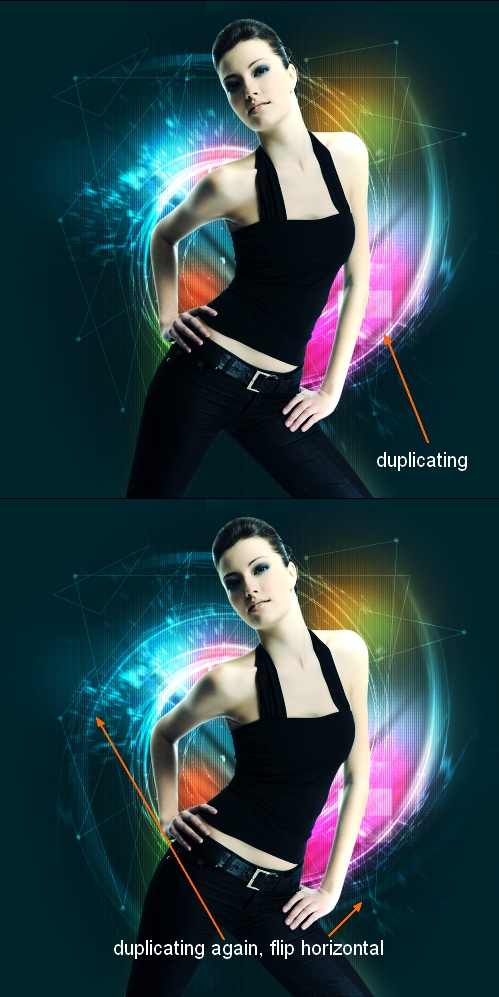
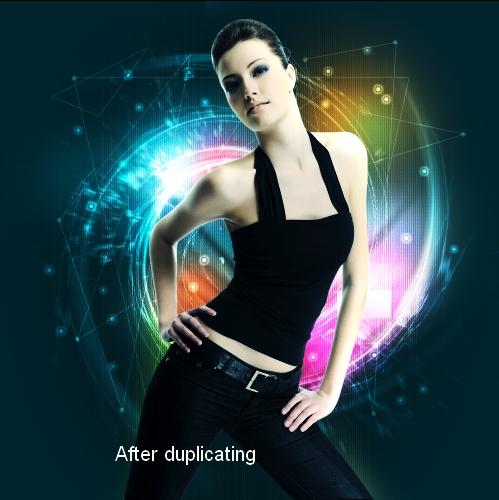
Duplicate this layer to make this effect more visible. Continue duplicating and apply Flip Horizontal for it:
Step 13
Create a new layer and use soft white brush to paint on the areas near to left hand, right arm and shoulder to brighten them. Put the mode as Overlay 100%:

Step 14
New layer and i use hard white brush. Press F5 to make setting for this brush as shown:

Spot around model:

Change the mode to Overlay 100% and apply Outer Glow for these white brushes then duplicate this layer:


Step 15
Create a new layer and place it on the top ( above model layer). Use soft brush with different colors to paint on model arms, shoulders, hands Put the mode as Soft light 100%:

Duplicate this layer and change the mode to Color 100%:


Step 16
Make a new layer with Overlay mode 100% and use soft white brush to brighten model shoulders and arms parts:

Step 17
New layer and i use different colors of brush to change colors on some parts of model. I set it to Lighten 100%:

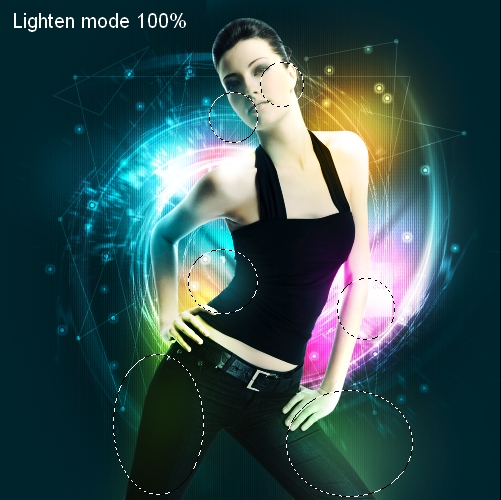
Duplicate this layer and change the mode to Soft light 100%:

Step 18
I want to reduce the lightness on right arm so i use brush with color #efc242 painting on it and lower opacity to 40%:

Step 19
Make a new layer on the top. Use soft white brush with size about 120 px to spot on the pic:

Hit Cmd/Ctrl+T to transform it:

Set the mode as Overlay 100%:

Duplicate it 4 times and place them as the screenshot below shows:

Step 20
Create a new layer and choose Polygon Tool with settings like this:

Draw some three angles:

Hit Cmd/Ctrl+Enter to make selections for these angles then stroke them with white:

I change the mode to Overlay 100%:

Step 21
New layer, use Polygon Tool but change settings of the shape sides from 3 to 5:

Make selection, fill it with white and change the mode to Overlay 100%:

I blur some parts of these shapes by using layer mask:

Step 22
Create a new layer, use Rectangular Marquee Tool to grab a square as shown below:
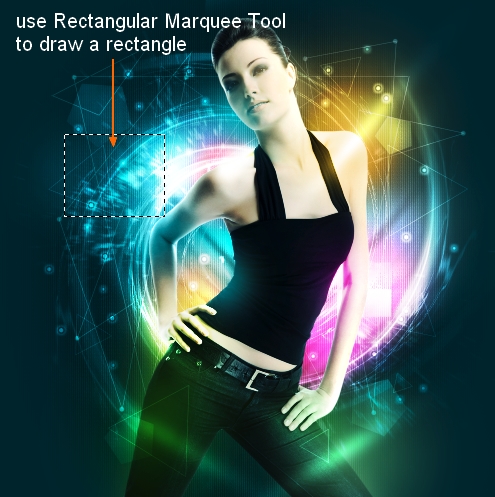
Then take soft white brush and paint within this selection:

After deselecting, use combine key Cmd/Ctrl+T to transform it:

Set the mode to Overlay 100%. Duplicate it to get stronger light:

Duplicate 5 times and position them around model:

For each layer, i add layer mask to clear or blur the bottom:

Step 23
Create a new layer and use hard white brush with same settings like in step 14 but with diameter = 32. Paint around model and put the mode as Overlay 100%:

Step 24
On a new layer, use Elliptical Marquee Tool to draw a circle. Set foreground and background color to white and #a482bd ( or any light color). Go to Filter-Render-Clouds:

Still keep this selection Apply Mosaic effect and then Wave effect:


Change the mode to Overlay 100% and deselect it. It gives a nice “technical” look:

Duplicate it 3 times and situate them around model arms and hands:

Step 25
New layer , i use Line Tool to draw a path:

Active brush tool and press F5 to open brush settings:

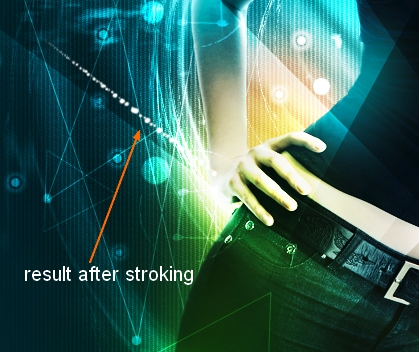
Choose Pen Tool, right click it, choose Stroke Path:

After stroking, right click it again, choose Delete Path:

Change the mode to Overlay 100%. Apply Inner Shadow for this layer:

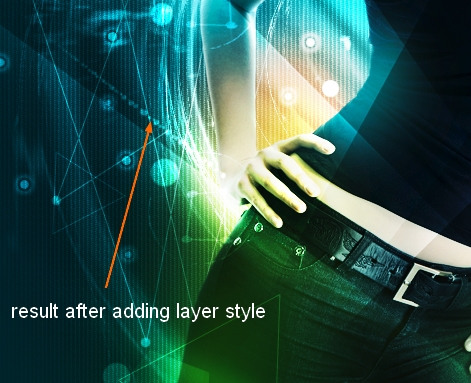
Duplicate it and move it to the right, apply Flip Horizontal for it:

Step 26
We finished adding all elements. Now we’ll color picture. I only use a Color Balance layer ( Layer-New adjustment layer-Color Balance):


Step 27
Make a new layer and choose Radiant Gradient with default color ( black and white):

Change the mode to Soft light 100% and add layer mask to clear the light effect on model and create a nice contrast for picture:

And We’re Done!
You can view the final outcome below. I hope that you enjoyed this tutorial and would love to hear your feedback on the techniques and outcome.
Member File Download
Download the original .psd file for this tutorial here:

 Members Area Tutorial: Design an Advanced Retro-Futuristic Photo Manipulation
 Members Area Tutorial: Design a Frightening, Textured Photo Manipulation
 Members Area Tutorial: Design a Last Airbender Inspired Photo Manipulation

Leave a comment
0 Comments:
No comments have been posted yet. Be the first!
Leave a Comment: