
Members Area Tutorial: Photo Manipulate a Radioactive Asteroid Scene
Resources Used In This Tutorial
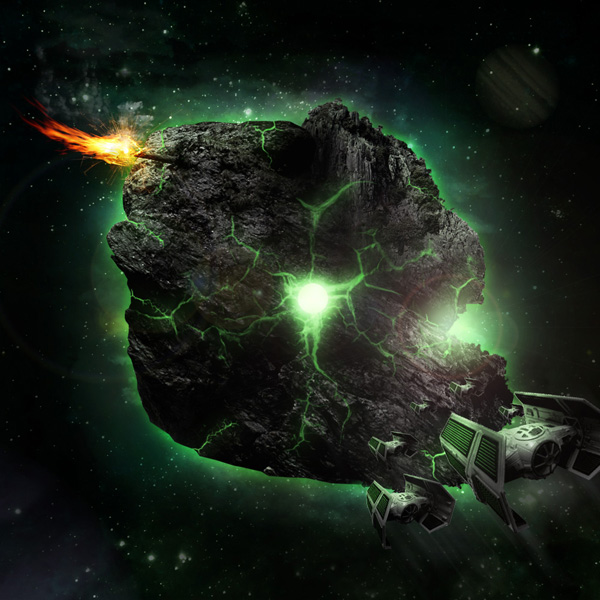
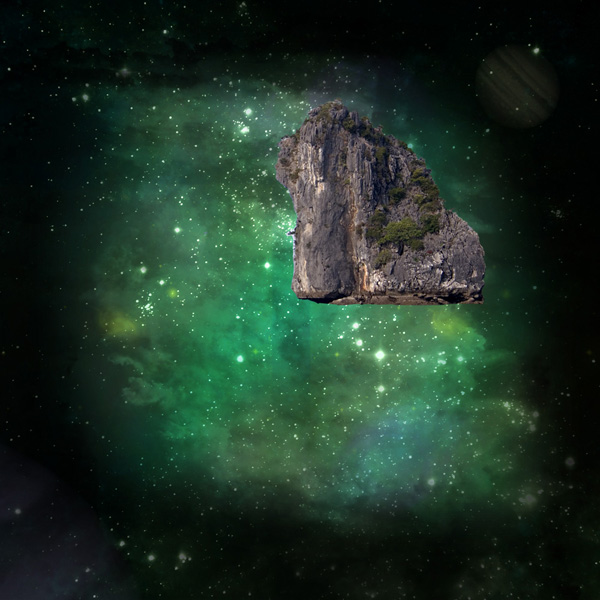
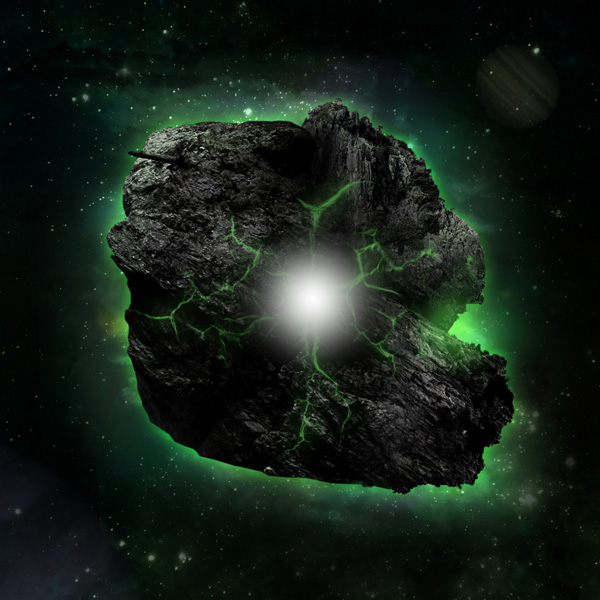
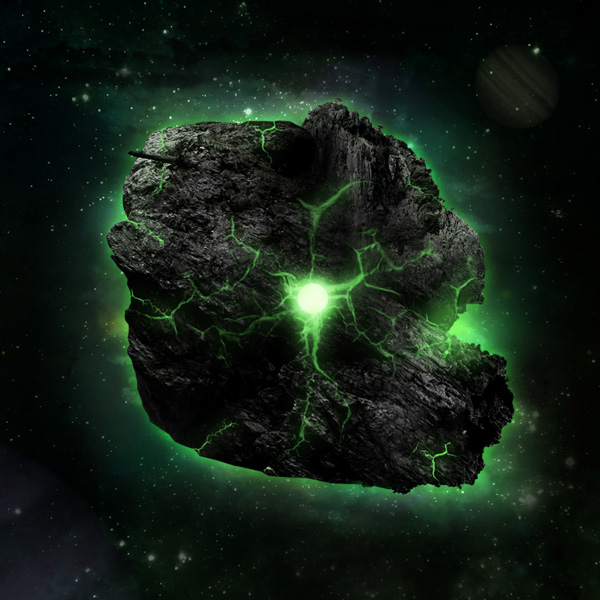
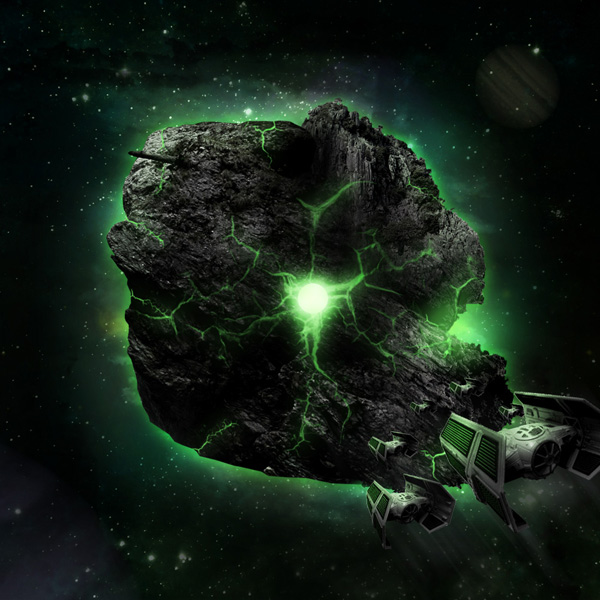
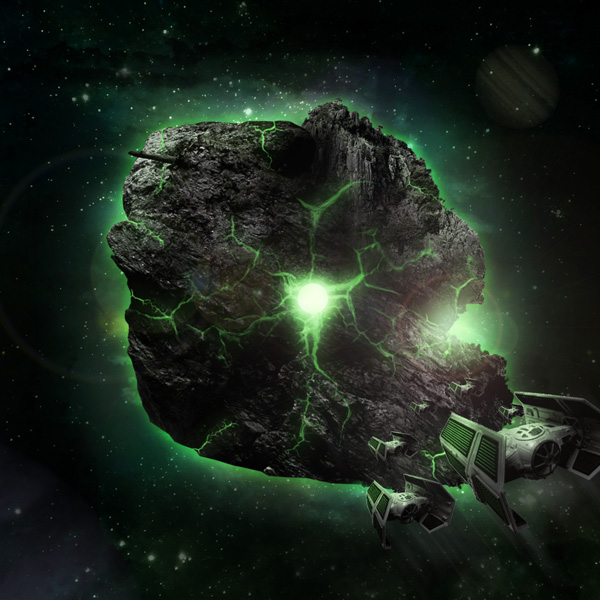
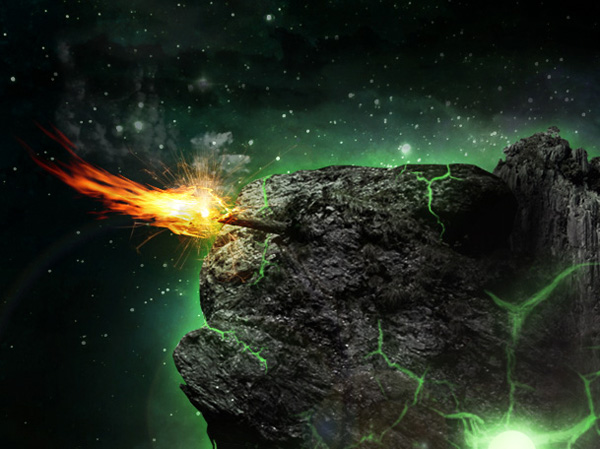
Final Image
Here is a preview of the image that we are going to be creating:
Step 1
Start by creating a new document (1000X1000px).
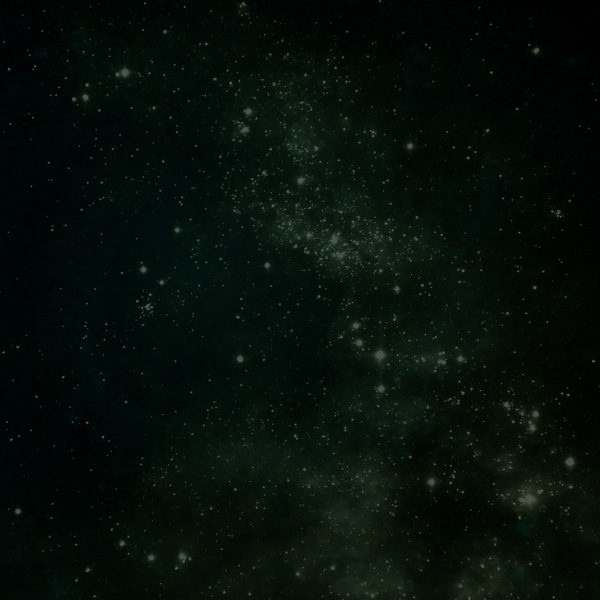
Fill your canvas with black.

Step 2
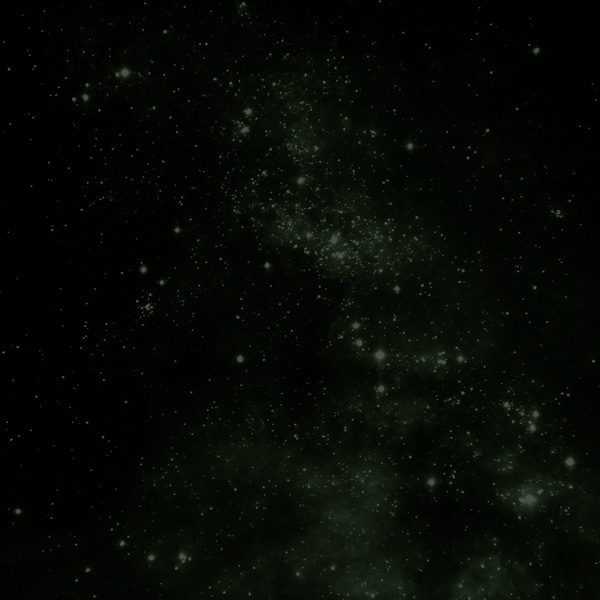
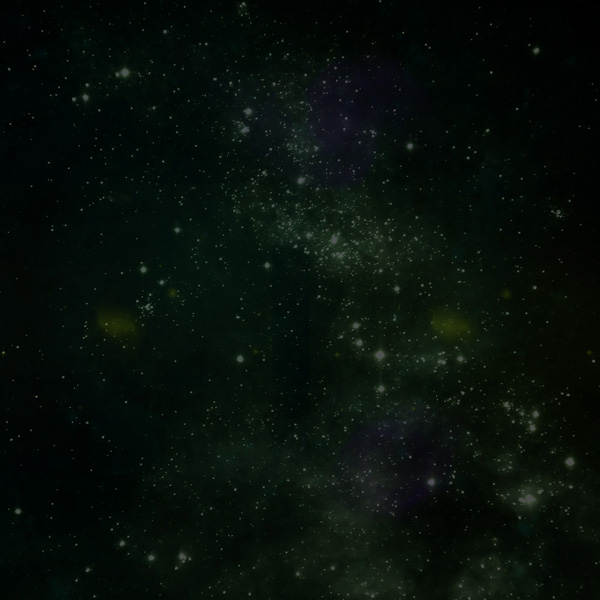
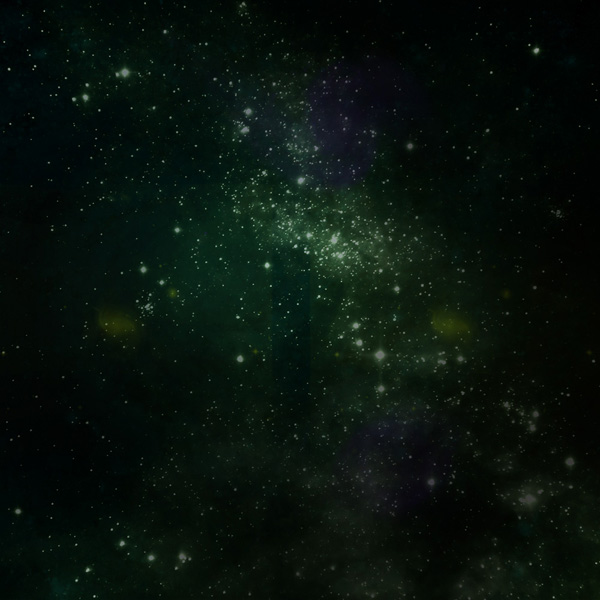
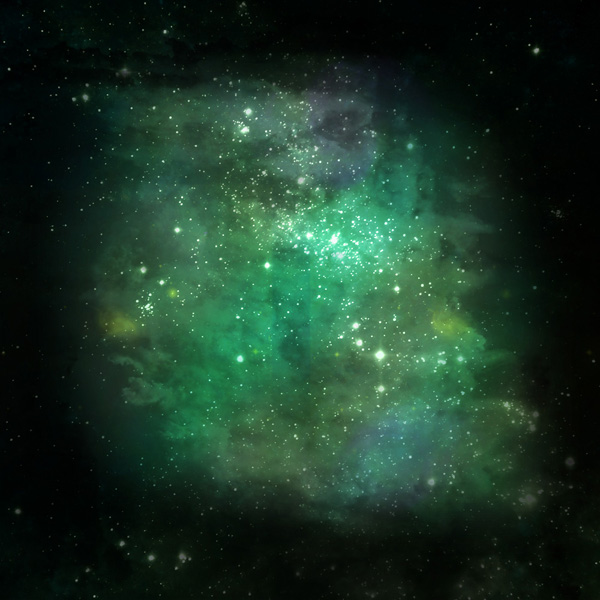
Now paste in your nebula photo from the resources for this tutorial.
Resize and position it to fit your canvas, and then reduce this layer’s opacity to 30%

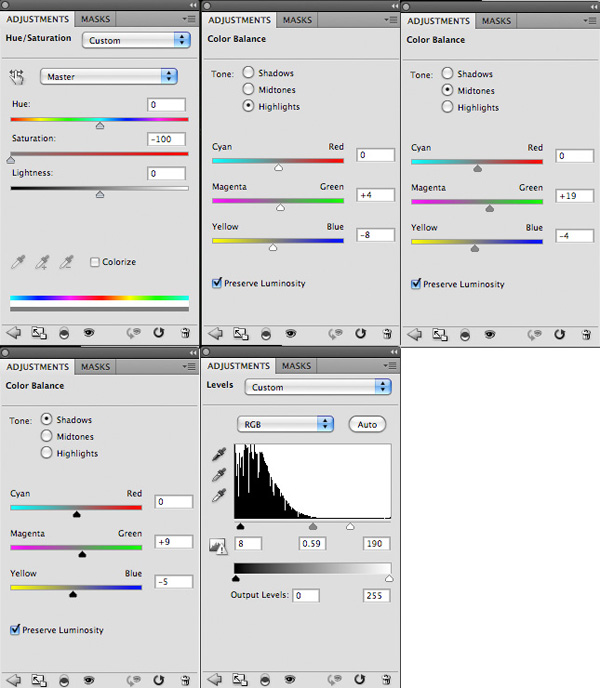
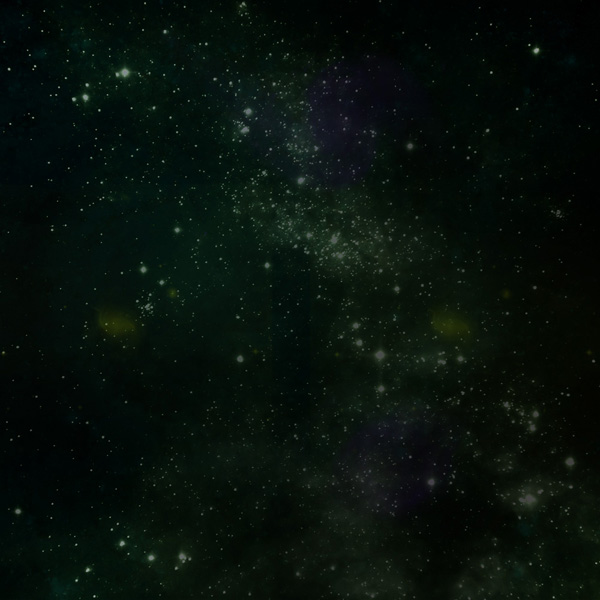
Now apply a hue/saturation, color balance and levels adjustment layer (in that order). Get into the habit of applying clipping masks to your adjustment layers so that they only effect the underlying layer (unless you want them to effect your entire canvas):
Hue/Saturation Adjustment Layer Settings:
Hue: 0
Saturation: -100
Lightness: 0
Color Balance Adjustment Layer Settings:
Highlights: 0 / +4 / -8
Midtones: 0 / +19 / -4
Shadows: 0 / +9 / -5
Levels Adjustment Layer Settings:
8 / 0.59 / 190
Step 3
Now load your nebula brush set.
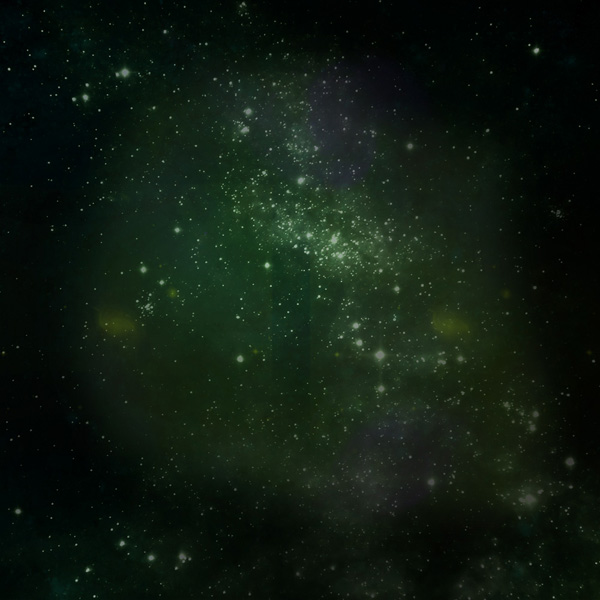
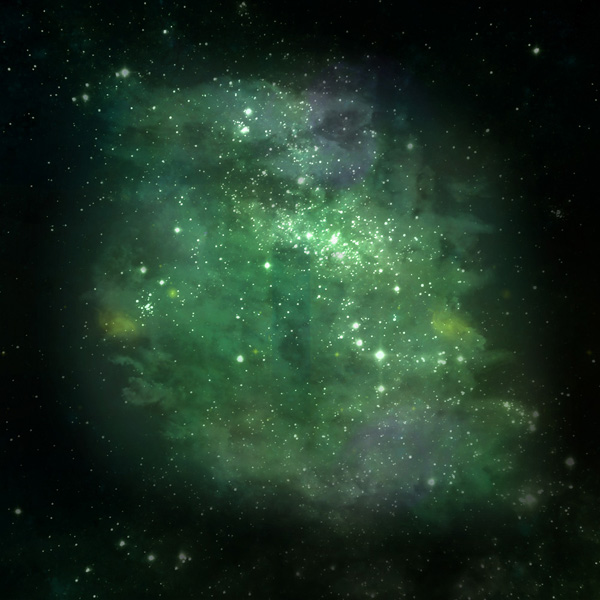
Create a new layer called ‘galaxy’. Select one of the larger galaxy brushes and apply it to fill your canvas (I chose 00fafd):
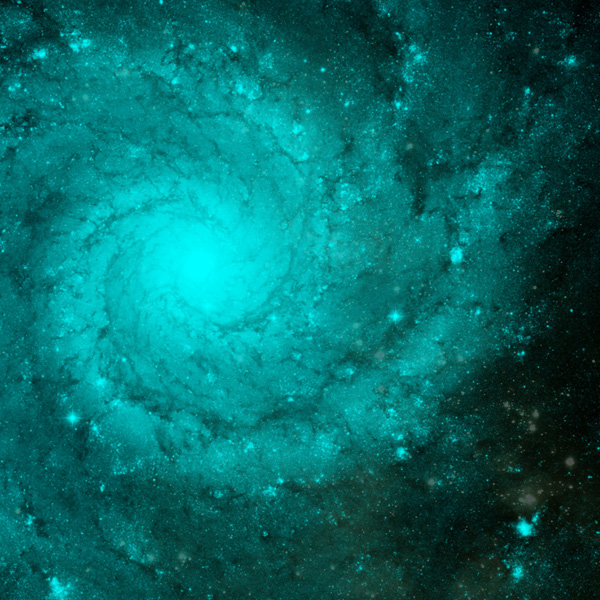
Now reduce this layer’s opacity to 5%, to give a subtle amount of detail and coloring to your background. The idea is to slowly build up a background, rather than simply slap on a prominent brush set. This helps great more depth and detail and makes the overall composition more interesting:
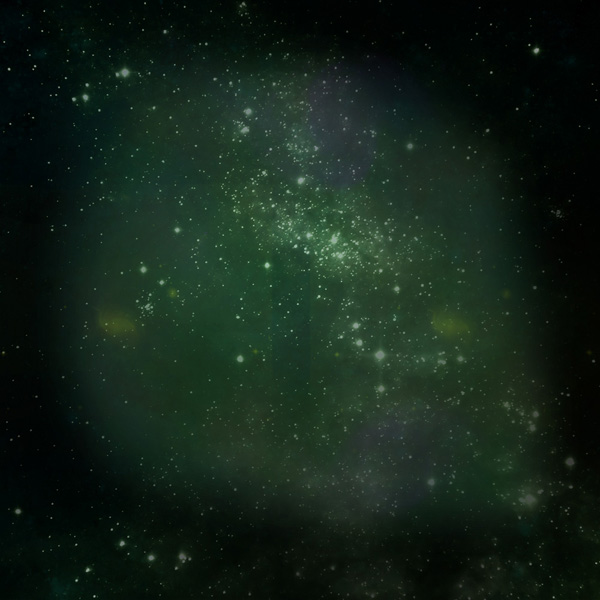
Now apply a couple more galaxy brushes on a new layer. I used a 8101ef colored brush.
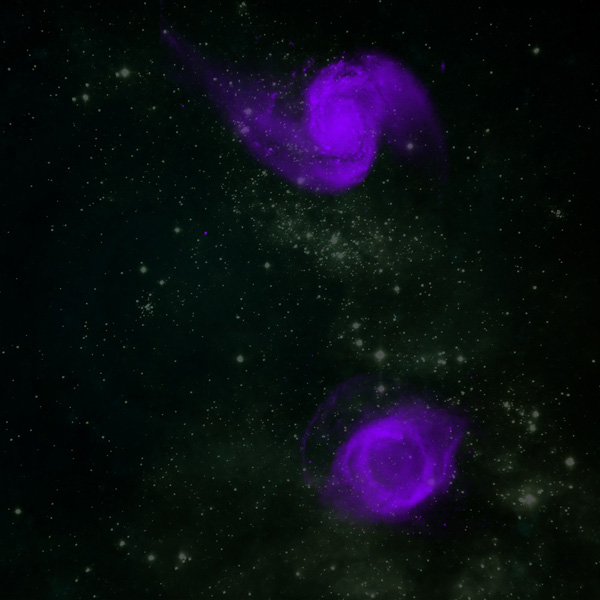
Now reduce this layer’s opacity to 8%:
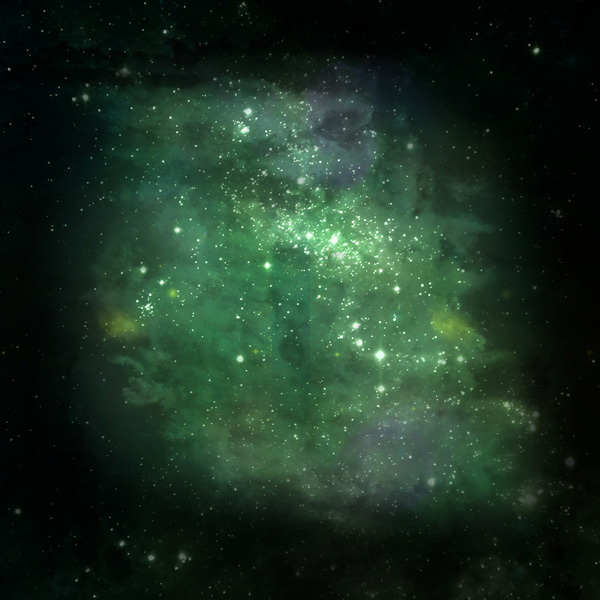
Apply a couple more galaxy brushes (using d8e70a color). If the edges of your brushes are too sharp then simply mask them off using a medium sized soft black paintbrush:
Reduce this layer’s opacity to 15%:
Step 4
Now let’s continue building up our background lighting!
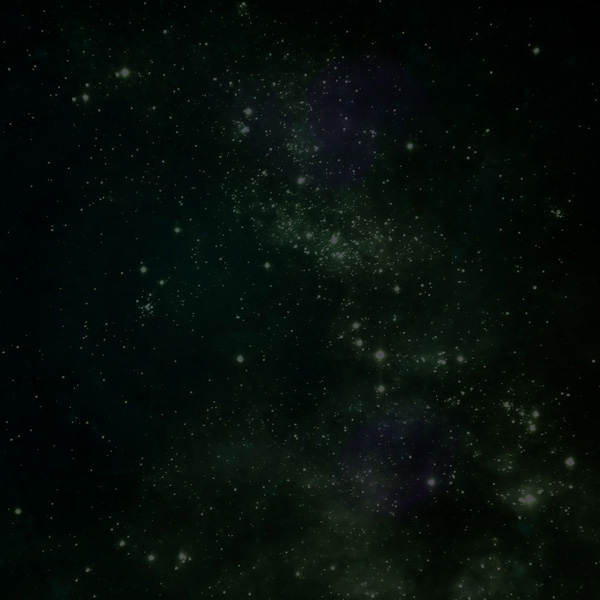
Create a new layer called ‘highlight corners’. Drag out some white to transparent radial gradients from the corners of your canvas.
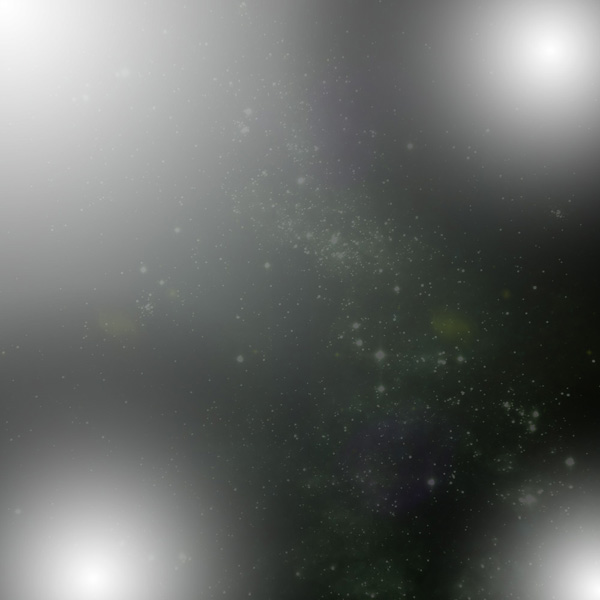
Change this layer’s blend mode to ‘overlay’:
Create a new layer called ‘radial gradient center’. And now… you guessed it! – apply a white to transparent radial gradient in the center of your canvas:
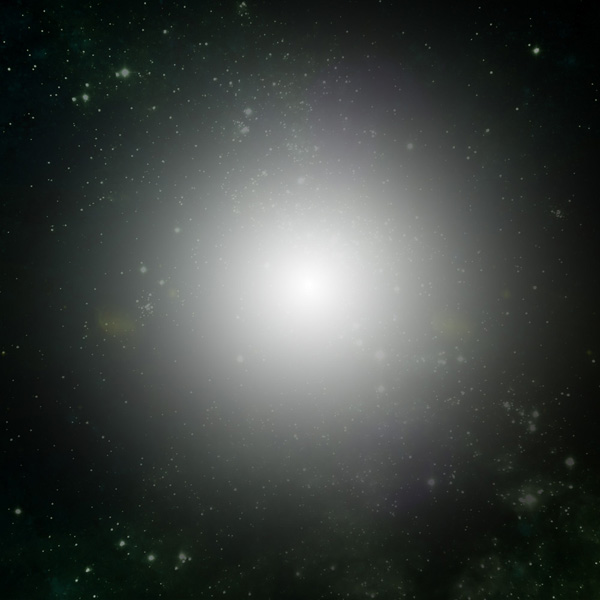
Now change this layer’s blend mode to overlay too:
Step 5
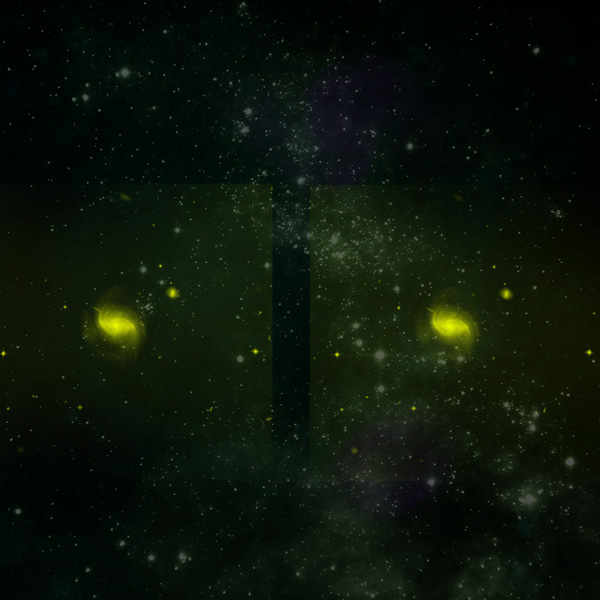
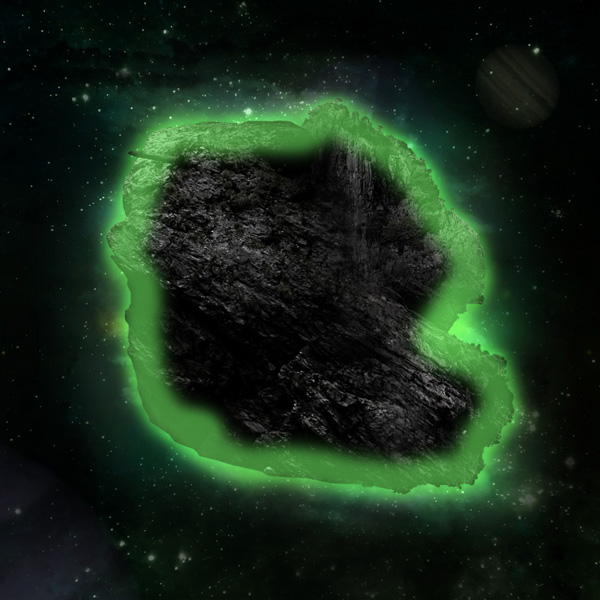
Now it’s time to apply some cloud effects to our background. Grab your lasso tool and set the feathering to 30px. Draw out a selection in the rough shape that you’ve planned for your asteroid formation. Then set your foreground color to c8ff71 and your background color to ffffff in your toolbar.
Create a new layer called ‘green clouds’. With your selection still in place go to filter>render>clouds.
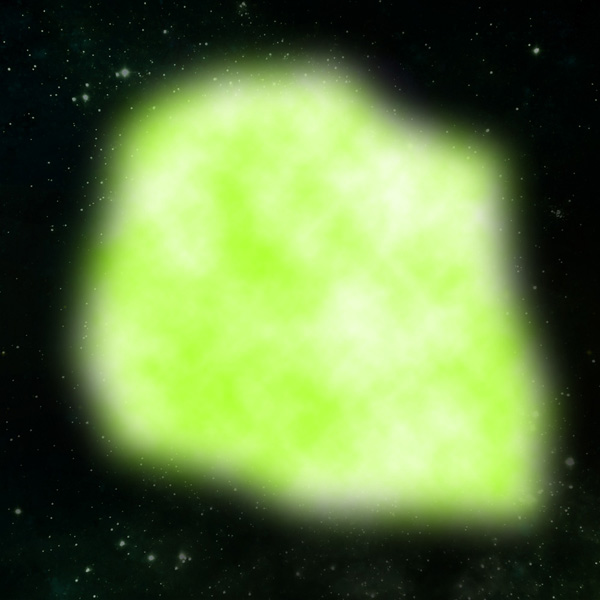
Reduce this layer’s opacity to 8%:
Repeat the last step, this time creating some neon blue clouds on a new layer called ‘blue clouds’:

Create a new layer called ‘cloud brushes’. Now download the premium FanExtra brush set from the resources for this tutorial. Apply many of the clouds using a white brush until you’ve covered your rough neon clouds area.
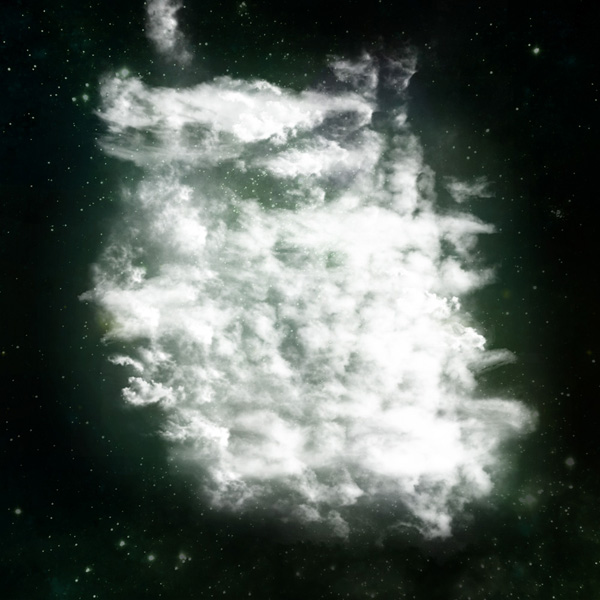
Now change this layer’s blend mode to ‘overlay’:
Now create a new layer called ‘cloud dark edges’. Using the same brush set (but choosing a black brush color) tidy up the edges of your central lit up area. Just brush around the edges cleaning them up and focusing where the light area seems to be leaking too much. Reduce this layer’s opacity to around 75%.
Step 6
Now using your circular marquee selection tool create an oval selection (30px feathering on your selection) and fill it with 00fbfe. Then rotate it and position it over your cloud formations:
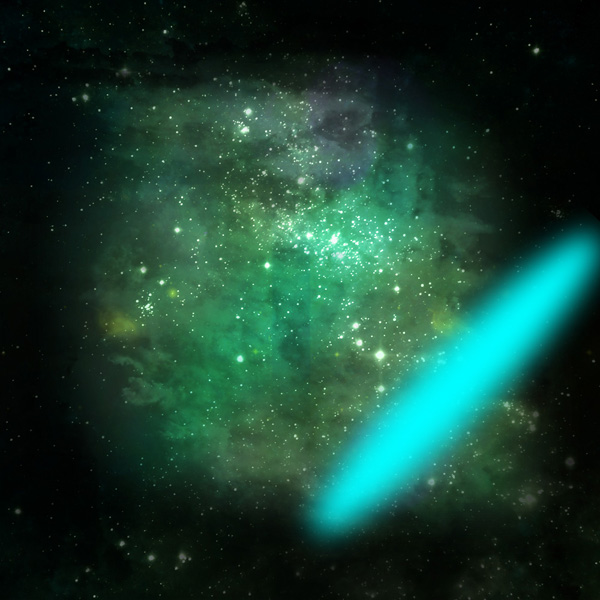
Reduce this layer’s opacity to between 20-30% and change it’s blend mode to ‘overlay’. Then duplicate the layer and move the duplicate slanted oval up your canvas a bit:
Step 7
Using your nebula brush set, select the planet brush from the set and apply it on a new layer. Apply a large purple planet in the very bottom left of your canvas, and then an earthy colored planet much smaller in the top right.
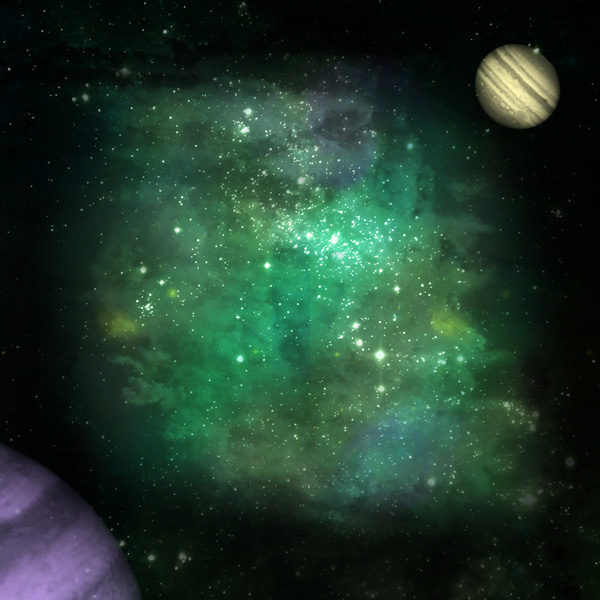
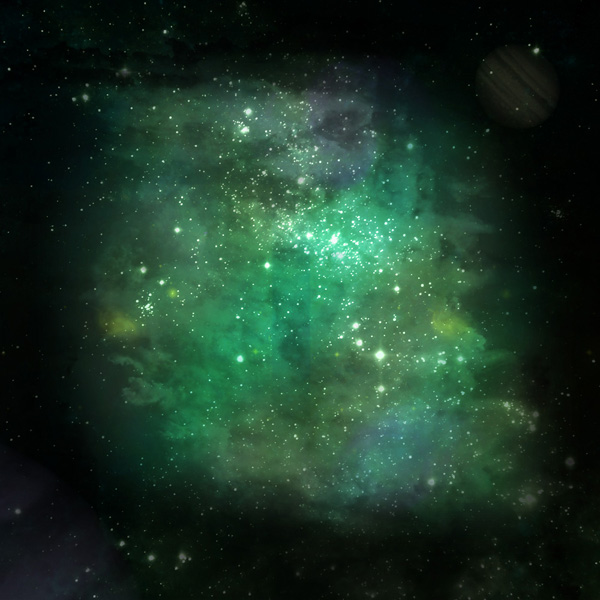
Now reduce the opacity of this layer until the planets are much fainter:
Step 8
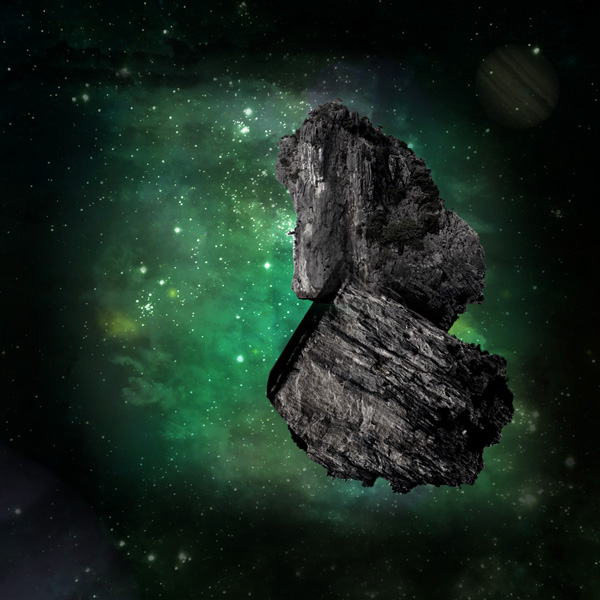
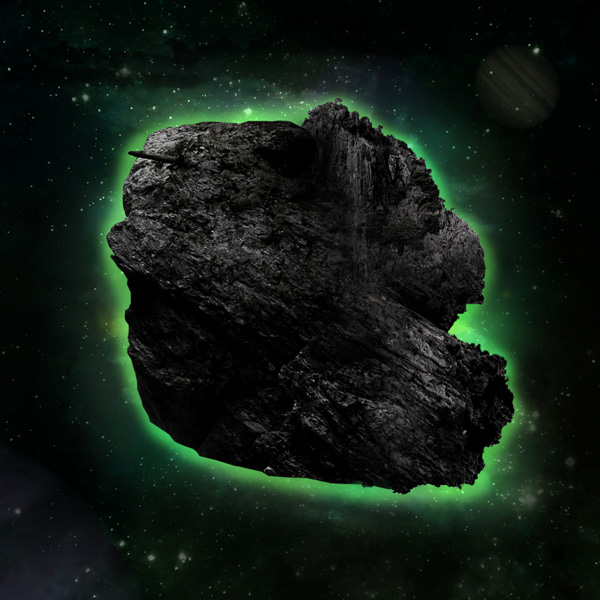
Now cut out part of the rock formation from the first of your rock photos and paste it into your canvas:
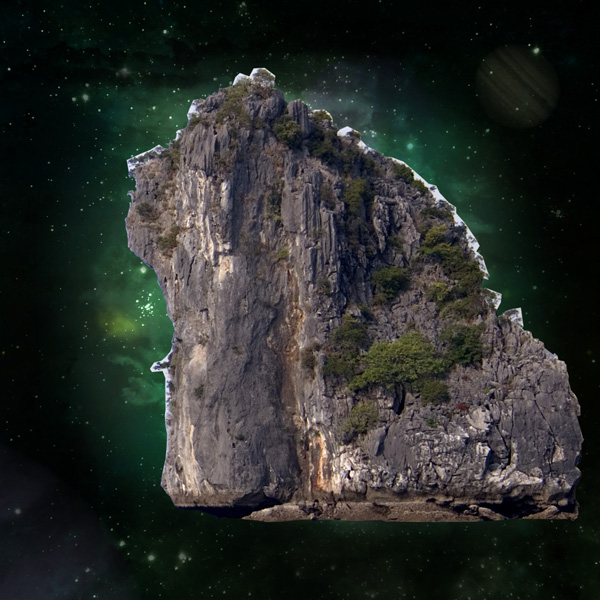
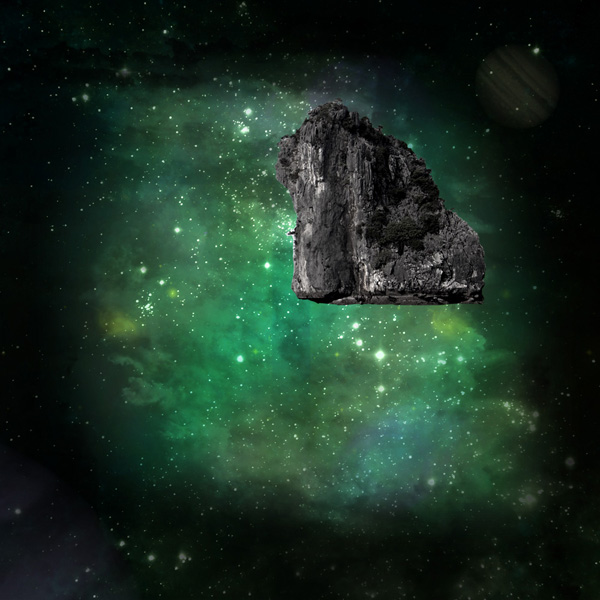
Resize the rock formation to fit your composition better, and then apply a layer mask. Use a small, soft black paintbrush just to tidy up the rock edges and any stray areas of background.
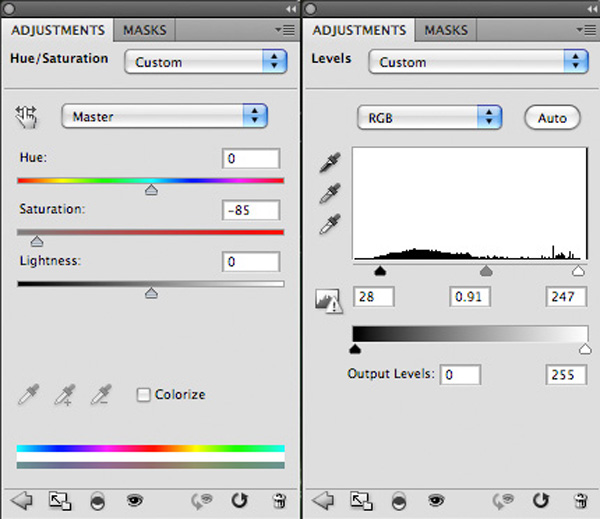
Now apply a hue/saturation and levels adjustment layer (each one having a clipping mask).
Hue/Saturation Adjustment Layer Settings:
Hue: 0
Saturation: -85
Lightness: 0
Levels Adjustment Layer Settings:
28 / 0.91 / 247
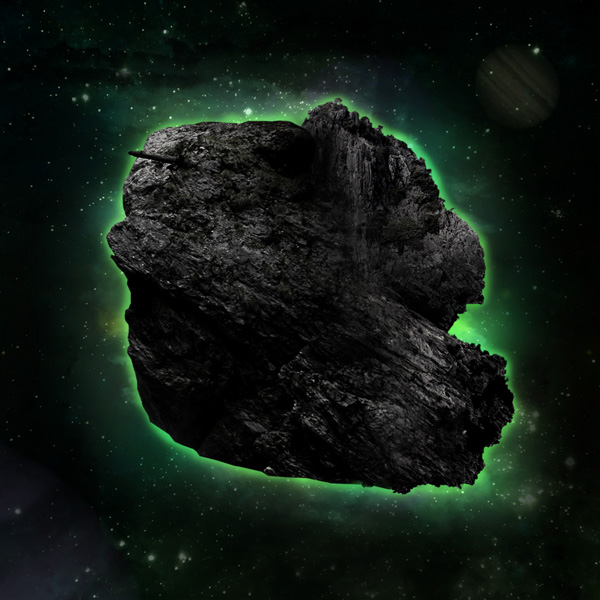
Now apply another one of the rock formations from your photos. Rotate this one so that it makes up the base of your asteroid. Apply the same adjustment layers as with your first rock:
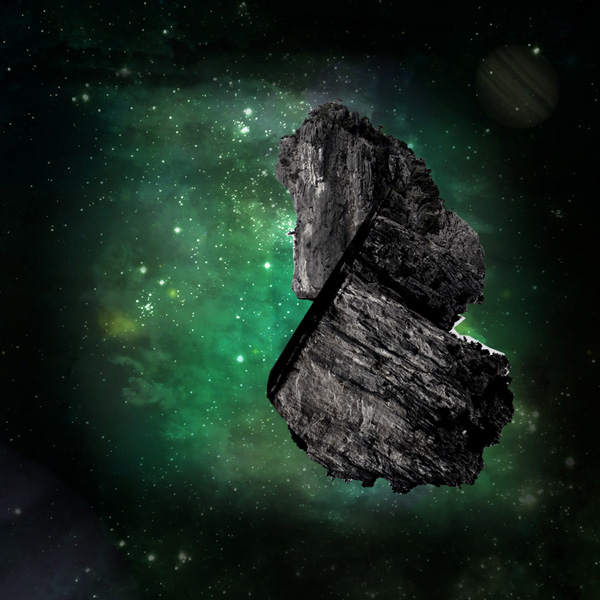
Now apply a layer mask. Don’t just use the mask to tidy up the edges of this rock, but use a large, soft black paintbrush at a low opacity (around 15%) to blend the rock seamlessly into the first rock:
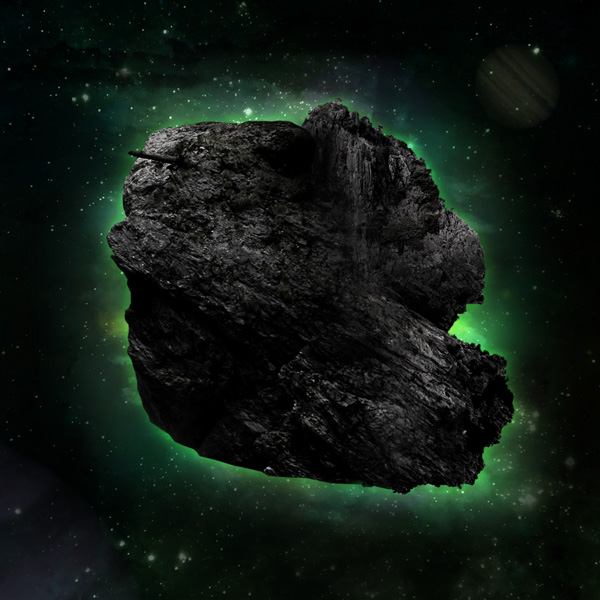
Repeat the exact same step, applying a final piece of rock (this from the second photo in the resources for this tutorial).
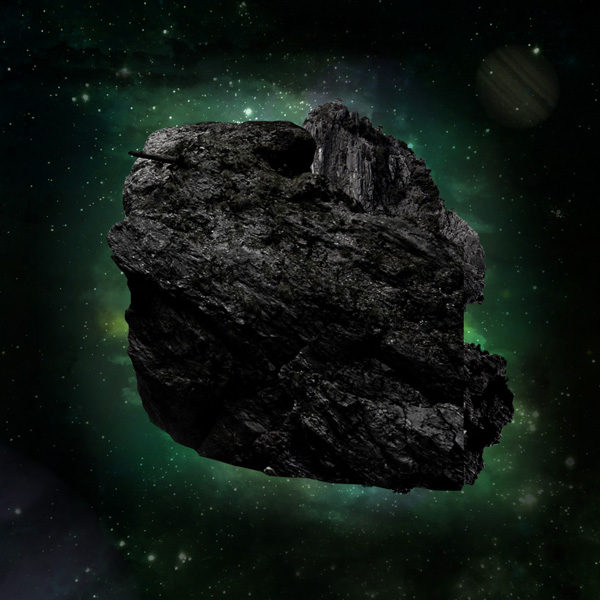
And after masking/blending it into your other rocks:
Step 9
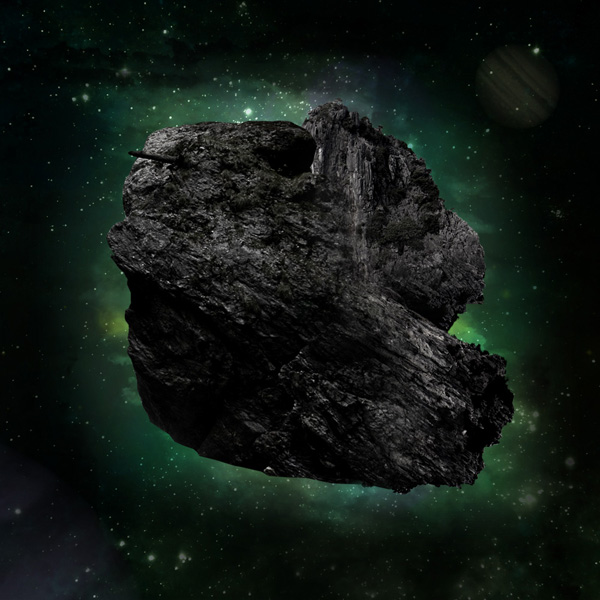
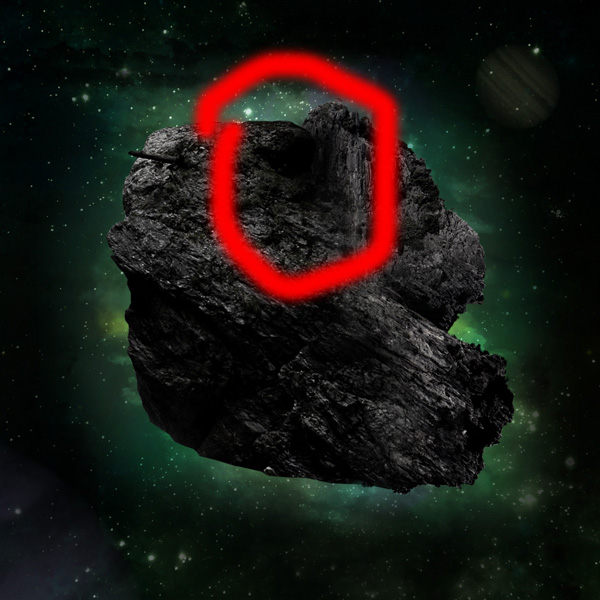
Time for some final touch ups on our basic rock formation.
I noticed that at the top center of the rocks the separate rocks don’t blend together that well, even after masking. The problem seems to be one of light and shadow. To fix this create a new layer called ‘shadow blend’. Then use a soft black paintbrush to brush over the area until it’s blended more seamlessly:
Step 10
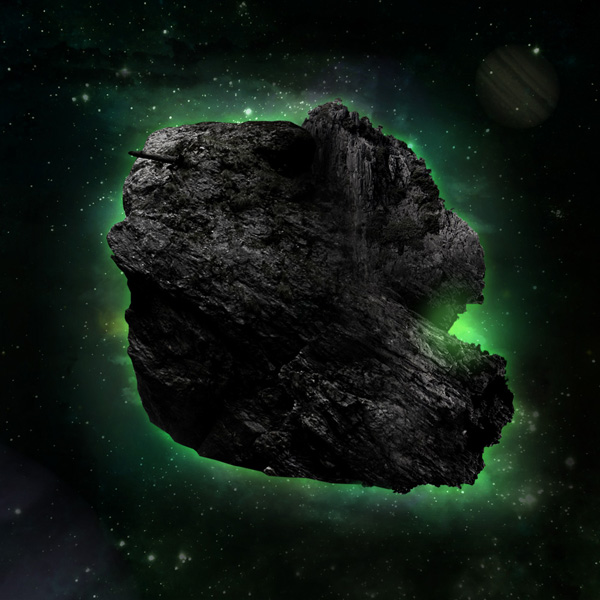
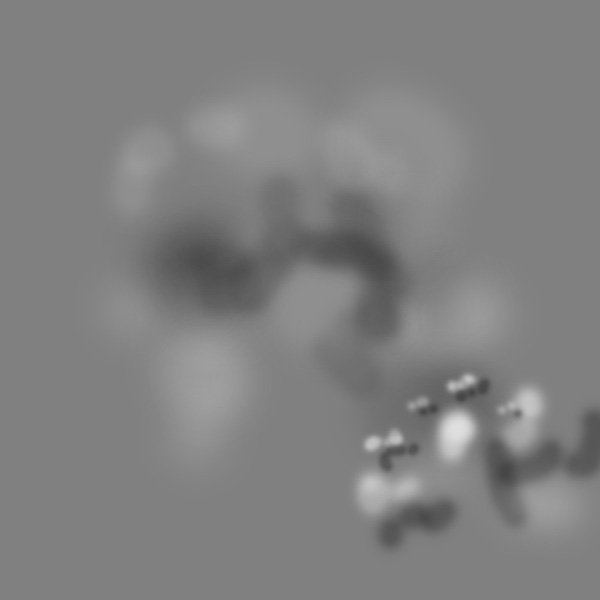
Now very importantly we want to dodge/burn our asteroid rock in order to bring all the elements together and give it better lighting.
Create a new layer called ‘asteroid dodge/burn’. Then go to edit>fill and fill your canvas with 50% gray. Change the layer’s blend mode to ‘overlay’. This will allow you to non-destructively dodge/burn your image. Use a soft black paintbrush for your shadows and a soft white paintbrush for your highlights.
Finally, reduce this layer’s opacity if needed (i.e.: if your dodge/burn effect is too prominent. Mine was, so I reduced this layer to 50% opacity).
The images below show the dodge/burn layer at 100% opacity, normal blend mode, and then at 50% opacity, overlay blend mode:
Step 11
Right, our composition is looking good so far, but it’s time to return to our background for a bit and get this asteroid looking really radioactive!
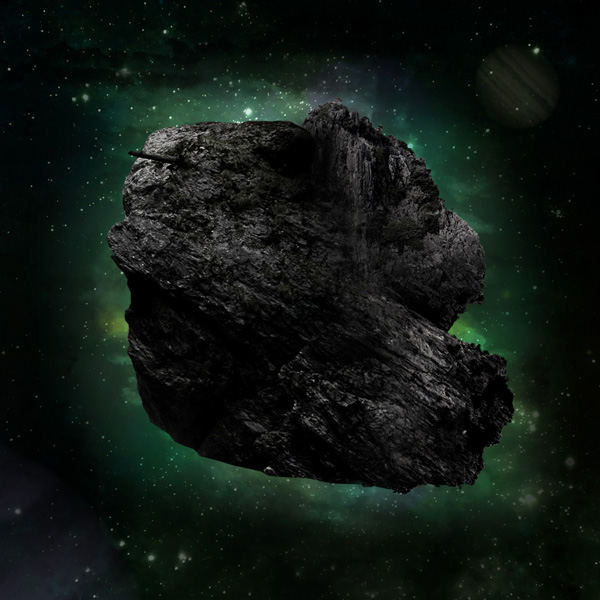
Start by creating a new layer called ‘light burst 1′. Ensure that this layer is beneath all of your rock layers, but above your existing background and background lighting layers:
Now change this layer’s blend mode to ‘overlay’. This should give a great sense of light coming from behind your asteroid:

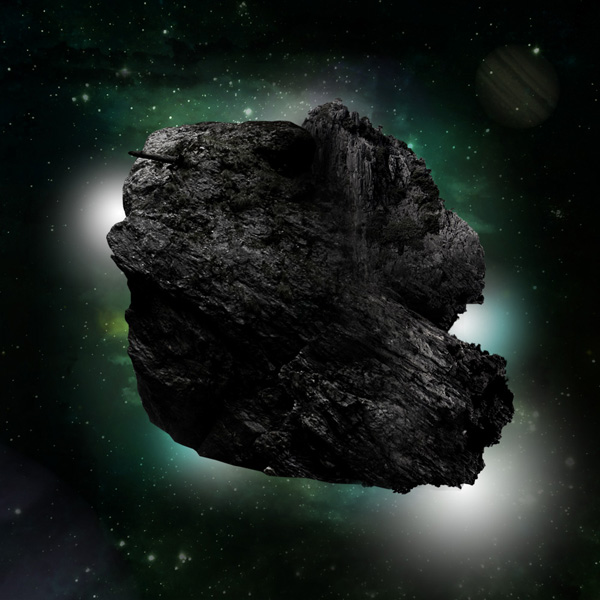
If you notice in the right part of our asteroid there is a particularly strong area of light. We want to accentuate this and make it have a kind of light flare effect. To do this create a new layer called ‘main light burst’.
Drag out a 5cf15d to transparent radial gradient stemming from this area. Keep this layer’s blend mode at ‘normal’ but reduce it’s opacity to 35%.
Step 12
Now create a new layer called ‘light around edge’. Select a smallish 7ce862 colored, soft paintbrush and paint all around the edges of your asteroid. Try to stay fairly close to the contours of this edge.
Now reduce this layer’s opacity to 20%. This should give a nice bit of definition around our asteroid:

Now create a new layer called ‘light round edge stronger’. Repeat the last step but this time paint even closer to the edge of your asteroid using a smaller green brush. It helps to zoom in as this can get a little fiddly!
Now reduce this layer’s opacity to 50% and change it’s blend mode to ‘overlay’.
Step 13
Right, that’s our background totally done with! Nice work ![]() .
.
Time to move onto lighting our rock a little better.
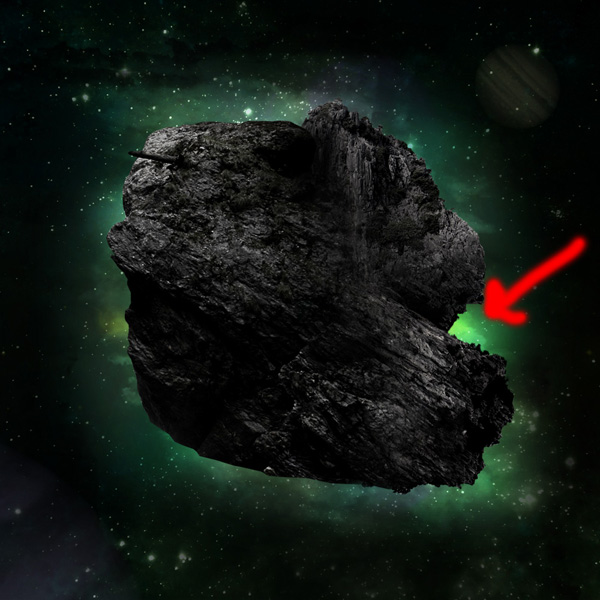
Start by creating a new layer above your rock layers called ‘light burst leak’. If you remember we identified a strong light source at the right of our asteroid. It’s only natural that some of this light would leak out onto our asteroid surface.
To achive this effect drag out a 7afb67 to transparent radial gradient in this area:

Now reduce this layer’s opacity to around 30% to make the effect more subtle, but still visible:
Step 14
Whilst it’s natural for this main light source to leak more, there will still be some leaking of light around all the edges of the asteroid.
To achieve this effect create a new layer called ‘inner glow rock’.
Use a soft green paintbrush to brush inside the edges of your rock formation:
Now change this layer’s blend mode to ‘overlay’ and it’s opacity to 20%. This gives a really subtle but effective green tint around the edges of your asteroid.

Now we want to accentuate a few of the shadows on our asteroid. Create a new layer called ‘rock dark’. Use a soft black paintbrush to brush over the areas you want to darken. I paid particular attention to the center of the asteroid, as darkening this area made it seem like the other areas were jutting out more, and gave the illusion of depth:
Step 15
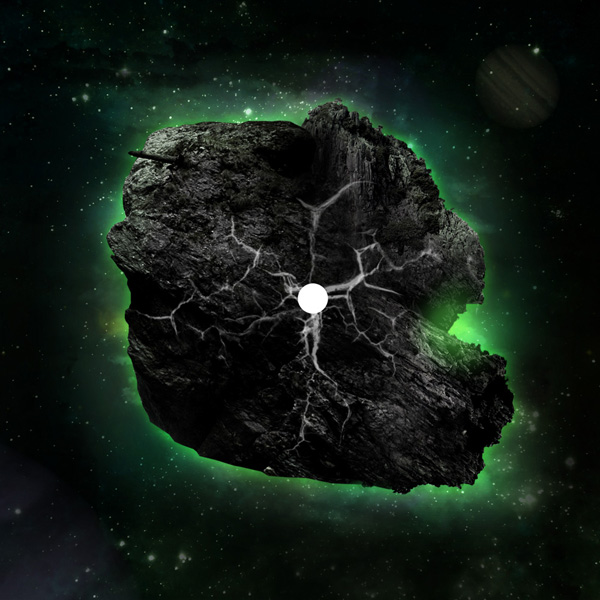
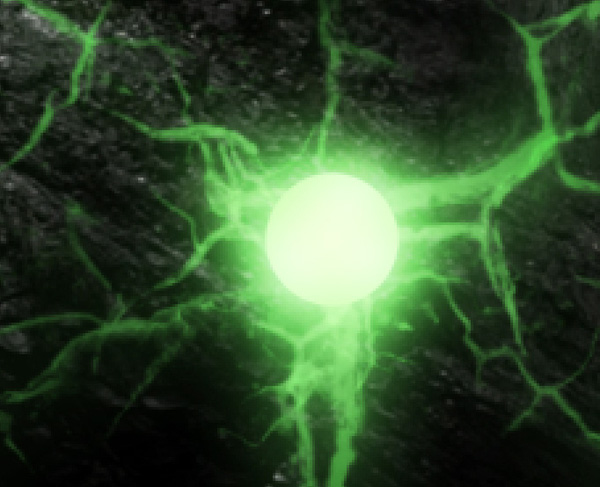
Now it’s time to start adding some cool radioactive cracks to our asteroid!
Create a new layer called ‘circle and cracks’. Create a white circle in the center of your asteroid, and then download your cracks brush set from the resources for this tutorial and apply several white cracks stemming out from this center circle:
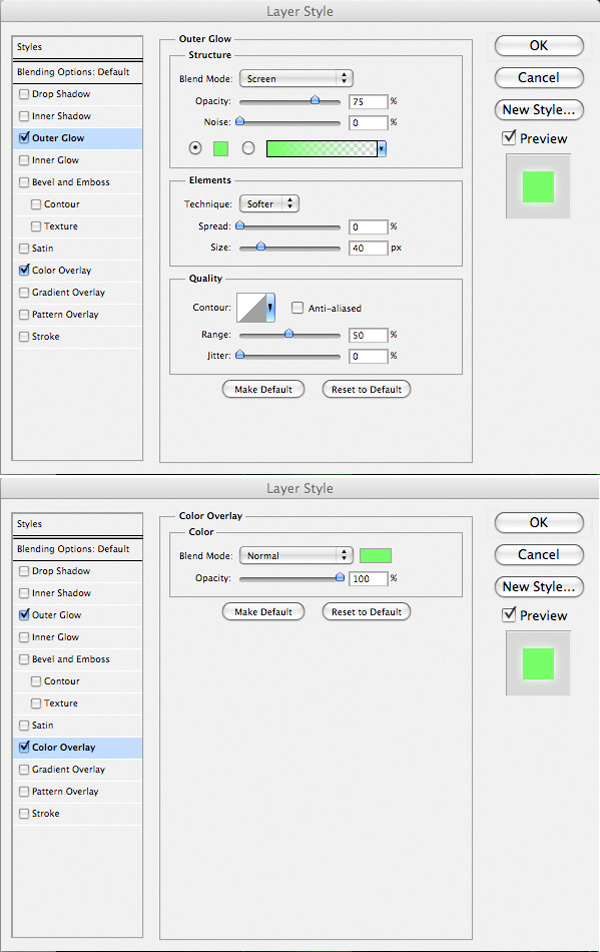
Now apply an outer glow and color overlay blending option:
Outer Glow Blending Option Settings:
Blend Mode: Screen
Opacity: 75%
Noise: 0%
Color: 78fd69
Spread: 0%
Size: 40px
Color Overlay Blending Option Settings:
Blend Mode: Normal
Color: 78fd69
Opacity: 100%
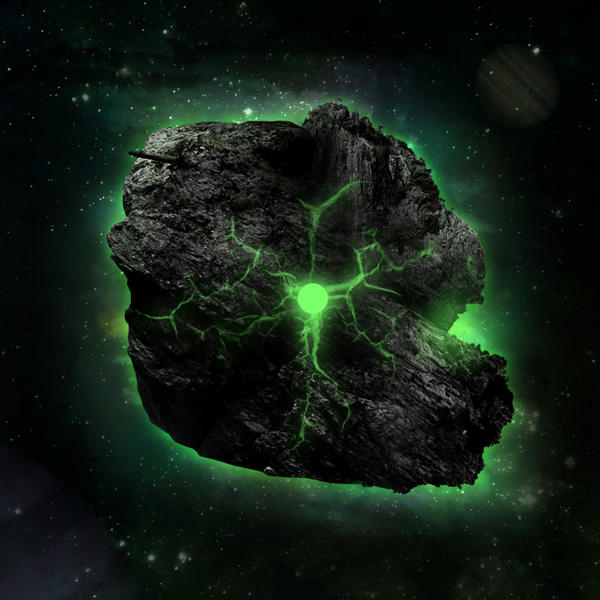
Now create a new layer called ‘circle glow’. Drag out a white to transparent radial gradient from the center circle of your asteroid.
Now change this layer’s blend mode to ‘overlay’.

We want to make this central circle of light a little less uniform looking, so need to introduce some light bleeds. To do this create a new layer called ‘circle light bleed’.
Drag out a few small white to transparent radial gradients over the edges of your main green circle:

Now change this layer’s blend mode to ‘overlay’ and reduce it’s opacity to 45%. This effect is barely noticeable, but remember – great design is all in the details! All together, lots of little touches like this will help make your piece look more professional:
Step 16
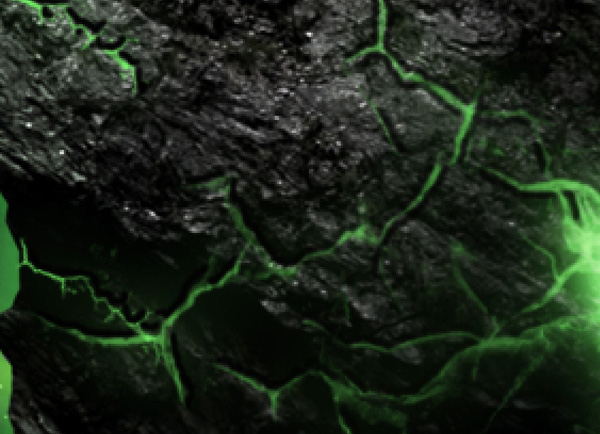
Now we want to apply even more glowing cracks to our asteroid. Create a new layer called ‘more cracks’. Apply several more white cracks over your asteroid:

Now right click on your ‘circle and cracks’ layer in your layers palette and click ‘copy layer styles’. Then right click on your ‘more cracks’ layer and click ‘paste layer styles’. This will give your new cracks the same green glow effect as your original cracks:

To make our cracks look more connected to the asteroid create a new layer called ‘crack shadows’. Use a small, soft black paintbrush to paint just next to your crack lines. The idea is to give them a kind of indented appearance:
Of course these marks are far too obvious right now. We want to make them subtle, but visible enough that they give the desired indented effect. Reduce this layer’s opacity to 35% and change it’s blend mode to ‘overlay’.
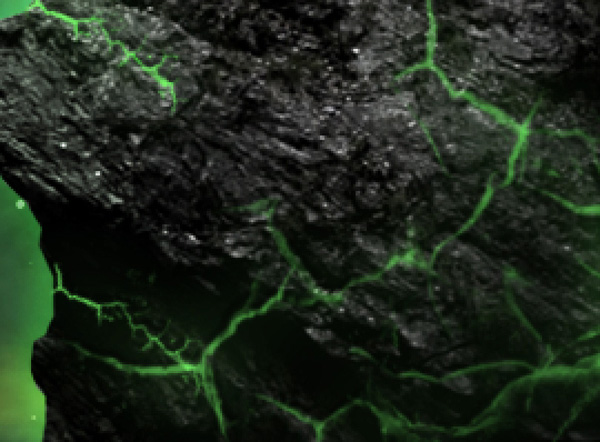
You can see full zoomed out that the effect is noticeable:
Step 17
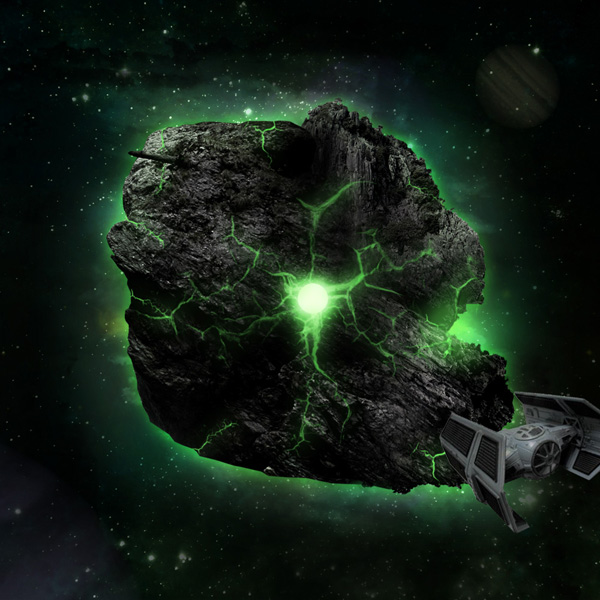
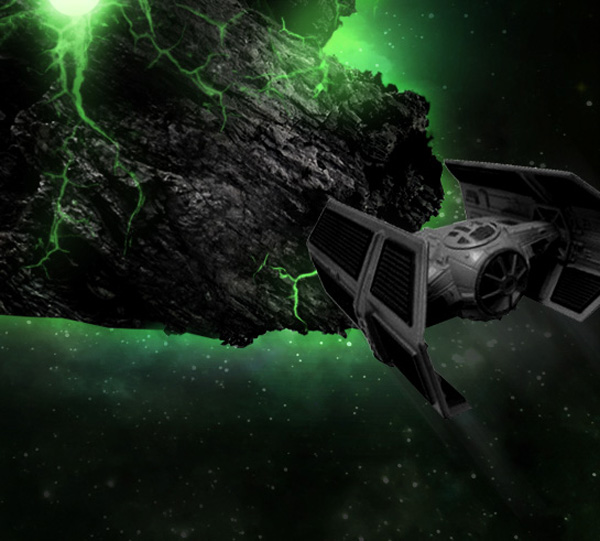
Now paste in the spaceship photo from the resources section from this tutorial. Extract it from it’s background using your preferred method (I used the magic wand tool for most of the extraction process as the background was plain white):
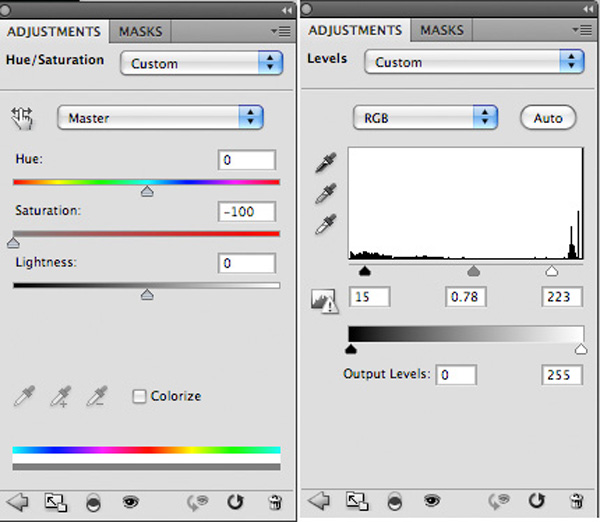
Now apply a hue/saturation and levels adjustment layer, giving each layer a clipping mask so that your adjustments only effect your spaceship layer.
Hue/Saturation Adjustment Layer Settings:
Hue: 0
Saturation: -100
Lightness: 0
Levels Adjustment Layer Settings:
15 / 0.78 / 223

Now duplicate your spaceship layer. Select your bottom most layer (the original) and go to filter>blur>motion blur. Apply a 250pixels strength motion blur at around a 50 degree angle:
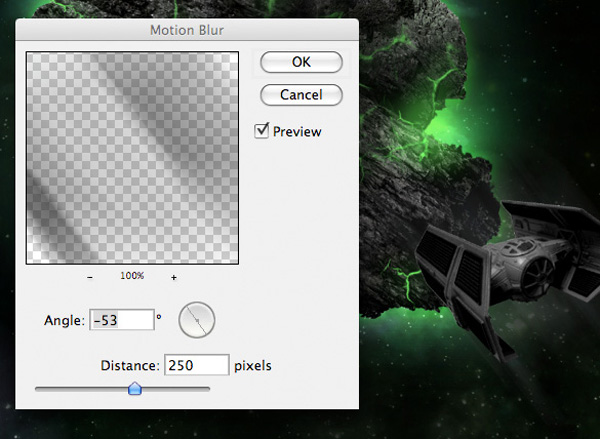
You’ll notice after applying your motion blur that it will blur out both sides of your space ship. To create the illusion of motion we only want the blur to come from behind the spaceship, not in front of it. To fix this, simply apply a layer mask to your blurred layer and mask off the area of blur in front of your spaceship. You can see the result of doing so below:
Step 18
Now zoom in on your spaceship. You’ll see some very faint lines across the sides. We want to extend the radioactive theme to our ship and so need to draw out some green lines.
Rather than draw green lines, simply use your line tool (1px thickness) to draw out lines of whatever color you wish. Then copy the layer styles from your green crack layers and paste them onto your lines layer. This will give them a nice green glow. Finally, to make the effect realistic, reduce this layer’s opacity to around 30%:
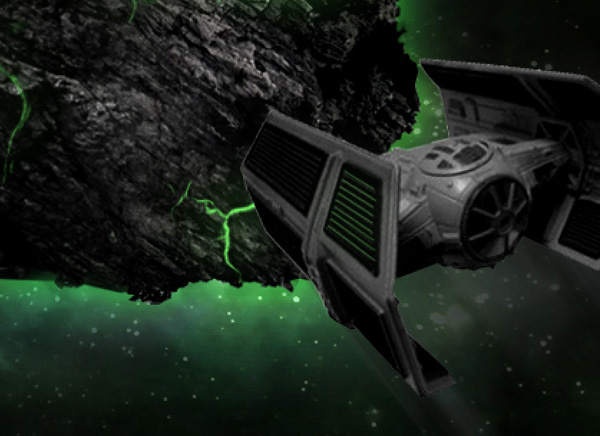
Now repeat this technique, applying more green lines to the other panels on the side of your ship:

Step 19
Now create a new layer called ‘green glow ship’. You’ll notice that despite all the light coming from our asteroid, very little of it is hitting our ship.
To fix this, option+click on your spaceship layer in your layers palette. With your ship shape selected, return to your ‘green glow ship’ layer. Use a soft paintbrush (color: b5f1a7). Paint on the front end of your ship, fading your green as it goes along your ship. This will be your green reflection of the asteroid light source:
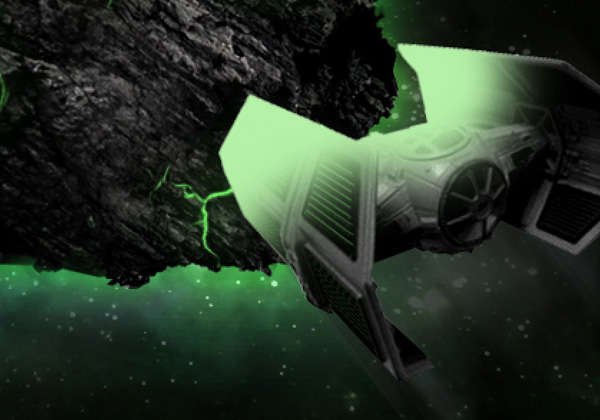
Now change this layer’s blend mode to ‘overlay’. This will ensure that your green glow effect appears natural:

Step 20
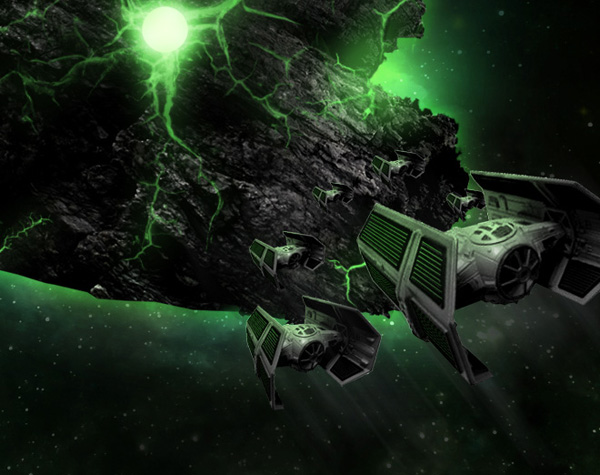
Now, to create a fleet of similar ships simply select all of the layers associated with your main spaceship (including all the line, highlight and lighting layers). Hit option+g to group all of these layers into a single layer group.
Then when you want to create another ship, simply right click and duplicate this layer group. When you select a layer group you can easily rotate, resize or transform the contents. Use this technique to create a fleet of smaller ships:
Step 21
Now create a new layer called ‘dodge/burn’. Repeat the dodge/burn technique demonstrated earlier (50% gray fill, overlay blend mode). The images below show your dodge/burn layer at normal blend mode and then overlay blend mode. This really helps to give a lot more cohesion to the image. Notice how I’ve shadowed the back ends of the spaceships, but accentuated the highlights at their front cast by the asteroid:
Step 22
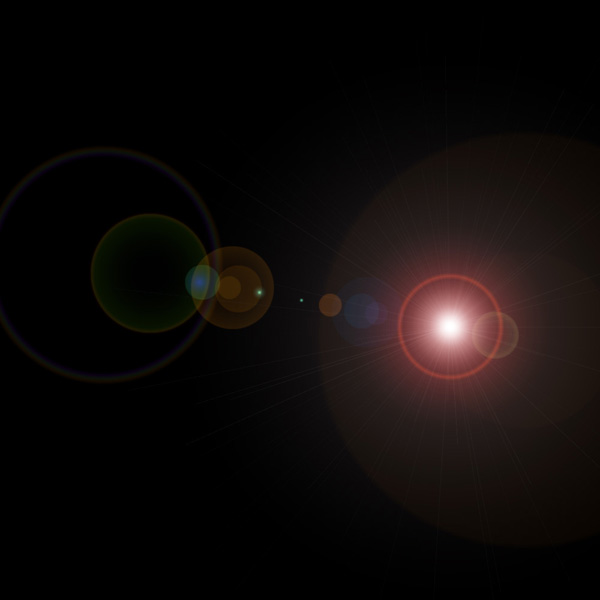
Now we want to create a lens flare effect. Create a new layer called ‘lens flare’.
Fill your canvas with black. Then change this layer’s blend mode to ‘screen’. This allows your to apply your lens flare non destructively.
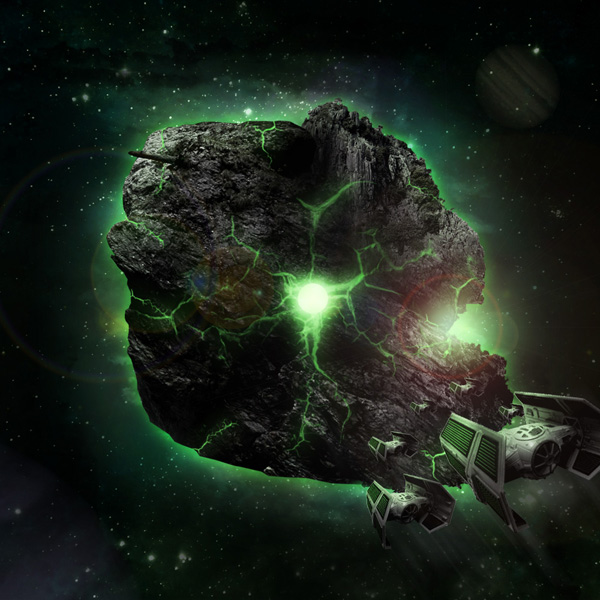
Apply your lens flare, and try to position it over the prominent light source located on the right side of your asteroid. Then reduce this layer’s opacity to 60%. The images below show the lens flare layer at ‘normal’ blend mode 100% opacity and then ‘screen’ blend mode, 60% opacity:
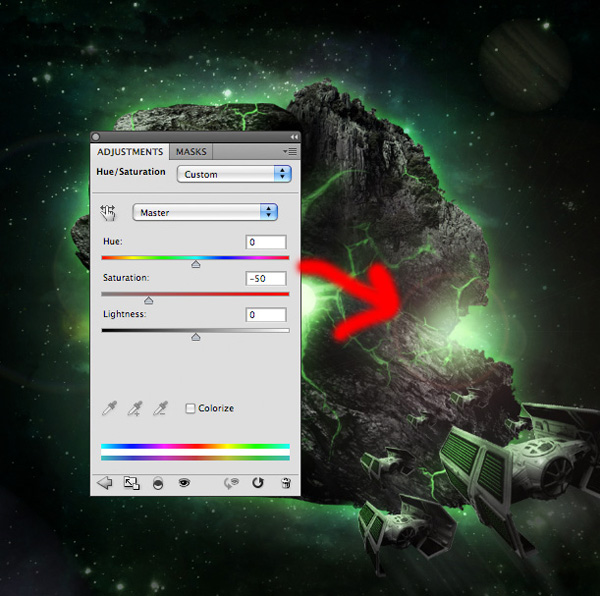
The lens flare is looking good, but is a little too prominent and overly saturated, so it’s detracting from the rest of the image. To fix this, simply apply a hue/saturation adjustment layer:
Hue/Saturation Adjustment Layer Settings:
Hue: 0
Saturation: -50
Lightness: 0
Apply a second lens flare over your bright circle in the center of your asteroid. Reduce this layer’s opacity to just 15%, as this isn’t the most prominent flare:
Step 23
The composition is looking a little light in areas, and needs some more shadow around the edges.
To fix this, create a new layer called ‘space brush shadows’. Select some of the brushes from the space nebula brush set in the resources section for this tutorial.
Apply the brushes over the top/bottom of your asteroid using a black paintbrush:
Now reduce this layer’s opacity to 20%.

Step 24
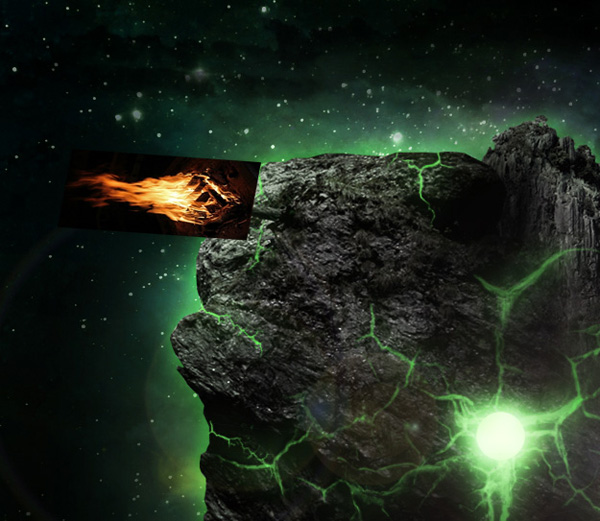
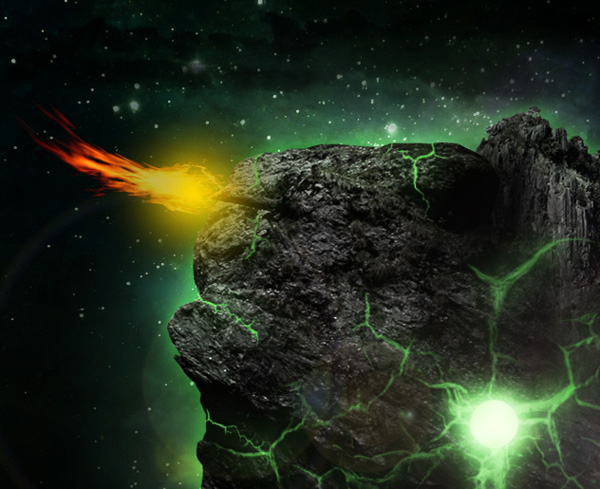
If you notice at the top left of our asteroid there’s a pipe looking object poking out from the rock. To add a further radioactive, cool effect to the asteroid I’ve decided to have fire spurting out the end of it! Now let’s get to work!
Start by pasting in the fire photo from the resources for this tutorial and positioning it roughly over the end of the pipe:
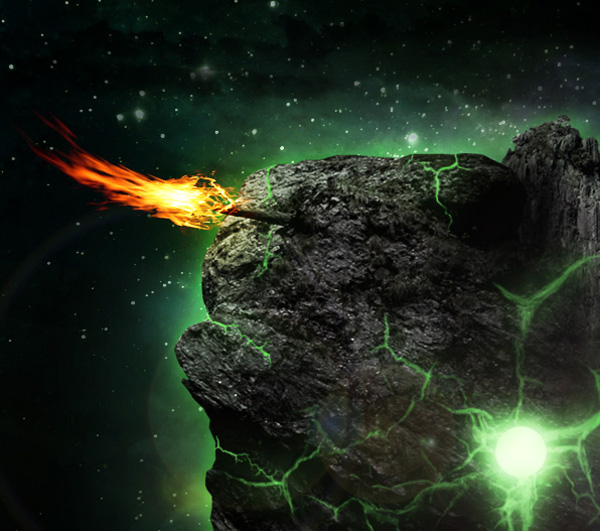
Now change this layer’s blend mode to screen, and apply a levels adjustment layer. Turning the layer’s blend mode to ‘screen’ will hide the fire photo’s black background, and the levels adjustment makes the fire more intense:
Levels Adjustment Adjustment Layer Settings:
26 / 0.81 / 226

Now place both the fire layer and levels adjustment layer in a layer group. Then duplicate this layer group. Go to edit>transform>warp and warp your duplicate fire layer into an upward arc:

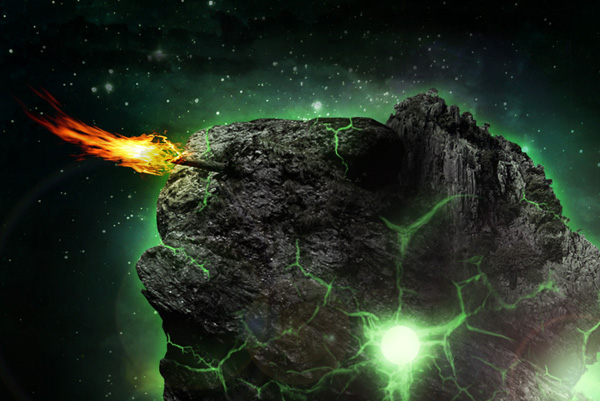
Now create a new layer called ‘fire highlight’. We want to accentuate the light source created by the burst of flame. To do this, drag out a radial gradient ranging from f9d302 to transparent at the base of your fire:
Now change this layer’s blend mode to ‘overlay’ and reduce it’s opacity to 50%:
Now repeat this step, using a smaller, lighter yellow highlight layer just to build up the light source.
Create a new layer called ‘smoke black’. Now select your premium cloud brush set and apply a couple of the brushes over your flames using a black paintbrush.

Now reduce this layer’s opacity to 15%:
Now create a new layer called ‘smoke white’. Apply the cloud brushes using a white paintbrush (50% opacity) to add some further billows of smoke above your flame:
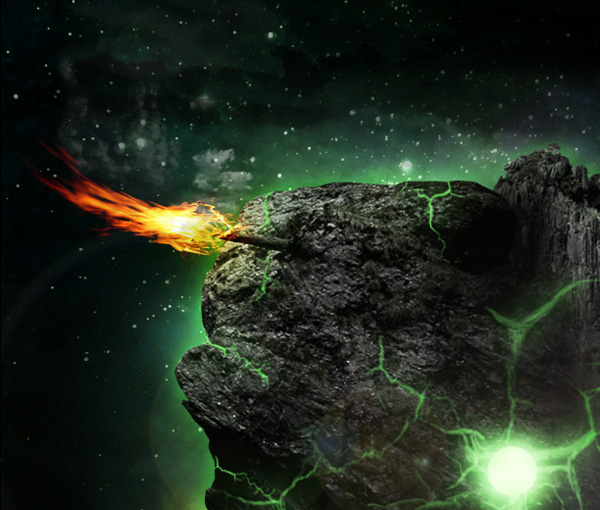
To finish up your flame, making it really vibrant, paste in your sparkler firework photo. Change the layer blend mode to ‘screen’ to hide the black background and then use a layer mask to mask off any harsh edges:
Step 25
Now apply a final levels adjustment layer. Do NOT apply a clipping mask to this adjustment layer as you want the adjustments to effect your entire composition:
Levels Adjustment Layer Settings:
9 / 0.94 / 238
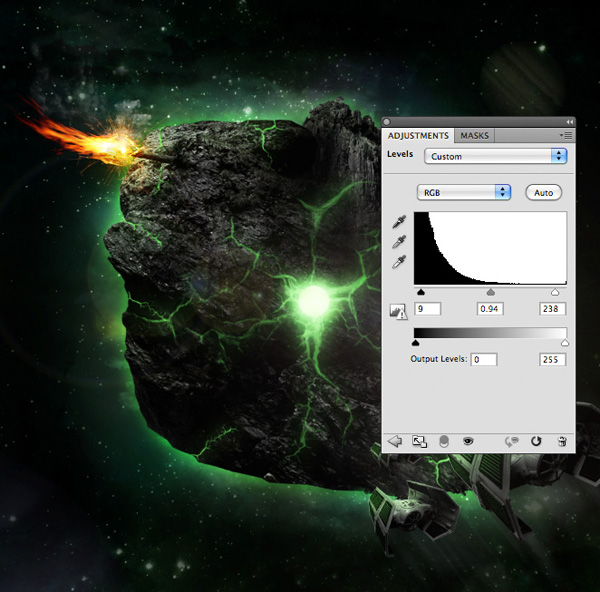
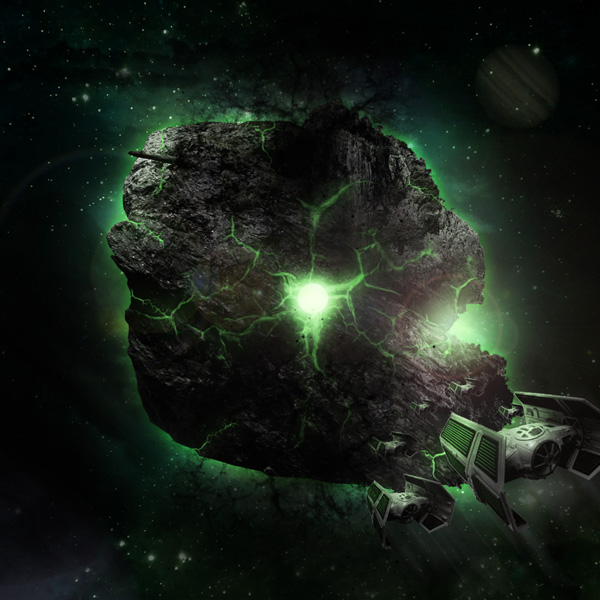
And We’re Done!
You can view the final outcome below. I hope that you enjoyed this tutorial and would love to hear your feedback on the techniques and outcome.
VIP Download
Download the original .psd file for this tutorial here:

 Members Area Tutorial: Combining Extraction Techniques to Create a Unique Photo-Manipulation
 Members Area Tutorial: Design an Advanced Retro-Futuristic Photo Manipulation
 Members Area Tutorial: Design a Frightening, Textured Photo Manipulation

Leave a comment
0 Comments:
No comments have been posted yet. Be the first!
Leave a Comment: